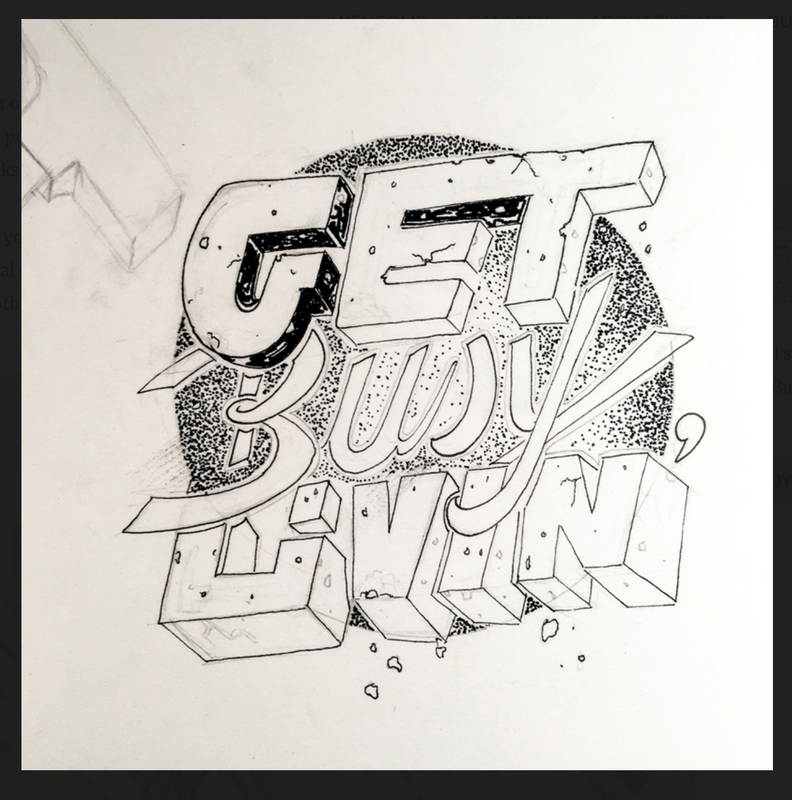
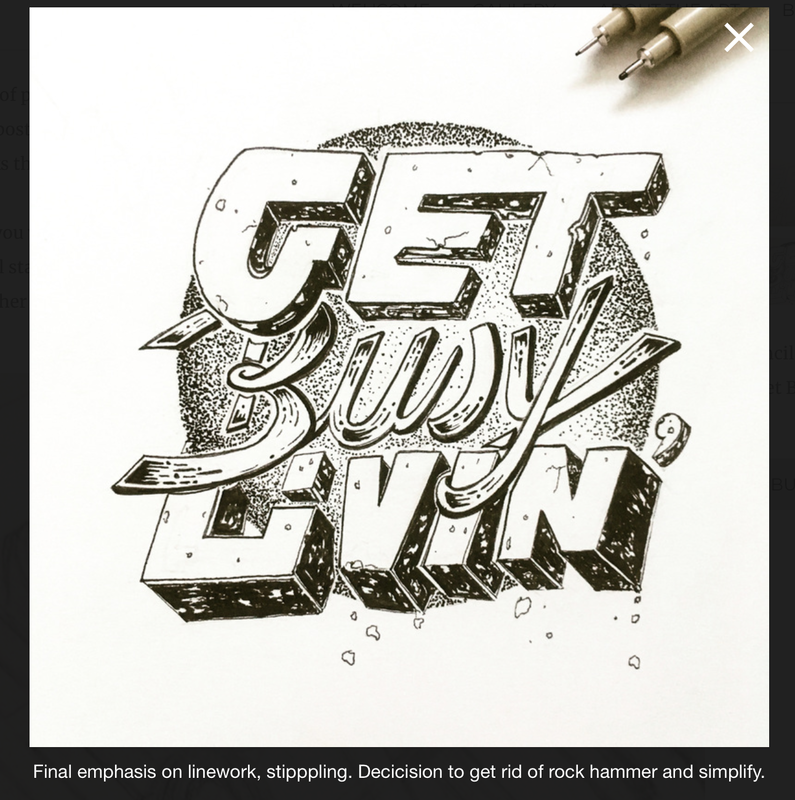
Hand-Lettered Typography Posters DUE JAN -
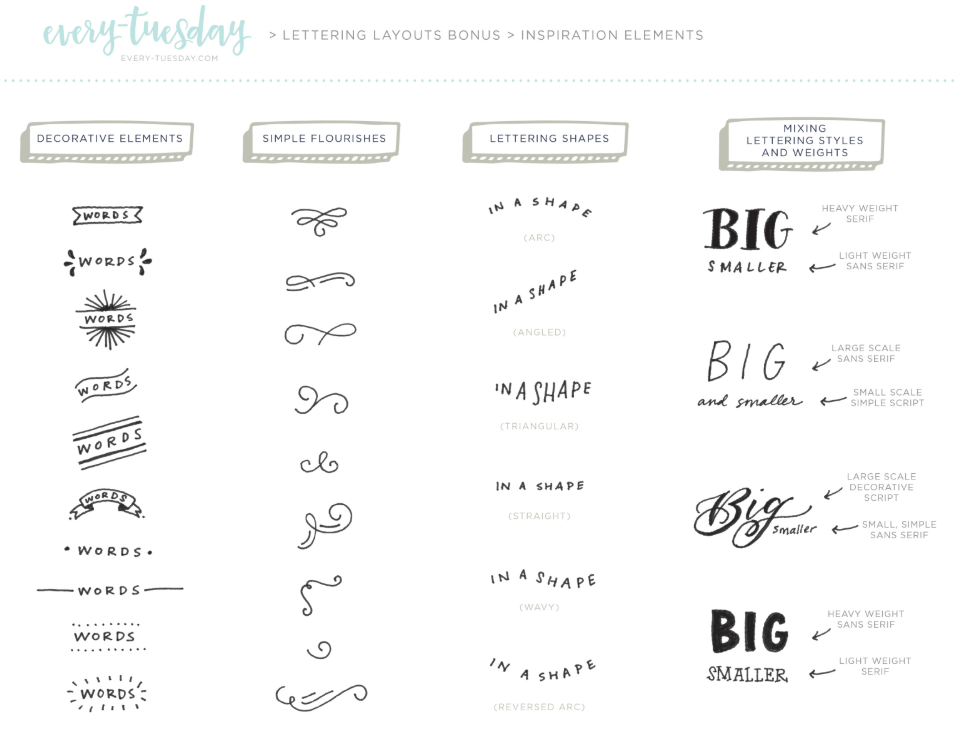
READ: https://every-tuesday.com/6-stunning-typographic-layouts/
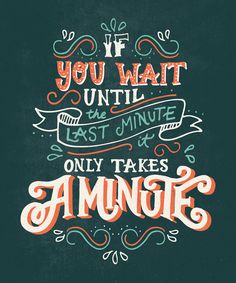
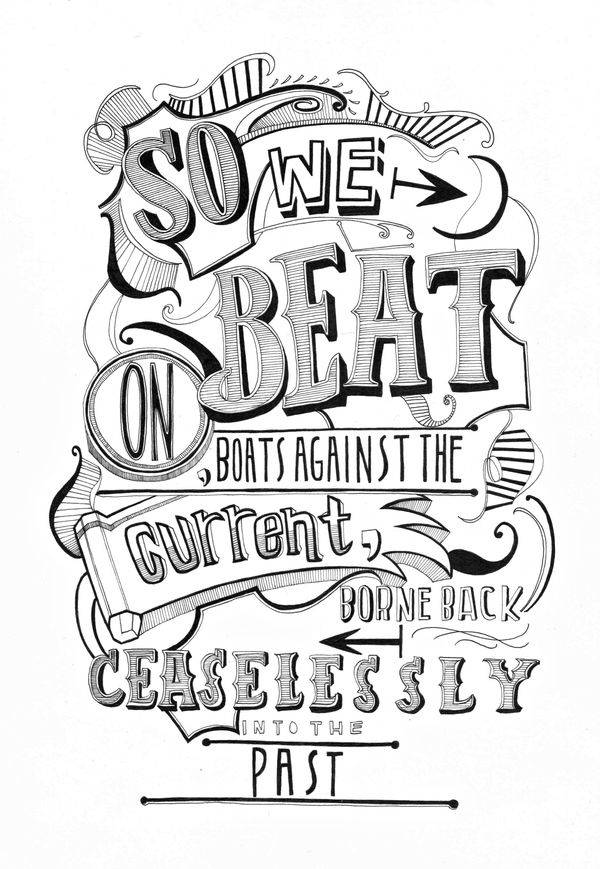
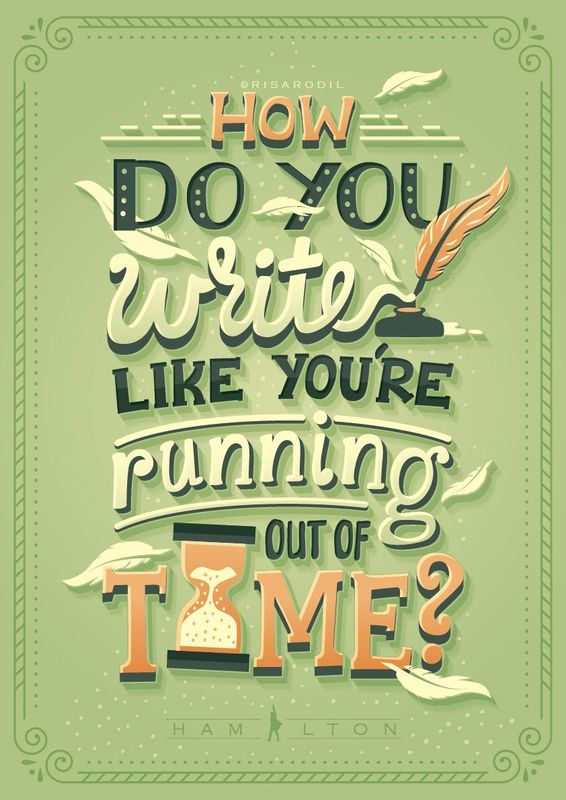
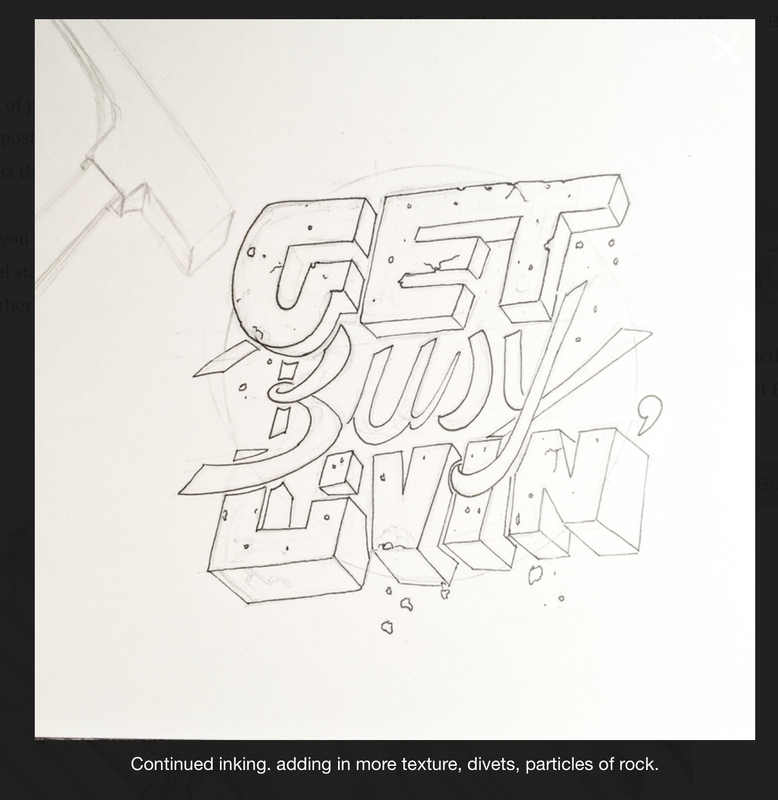
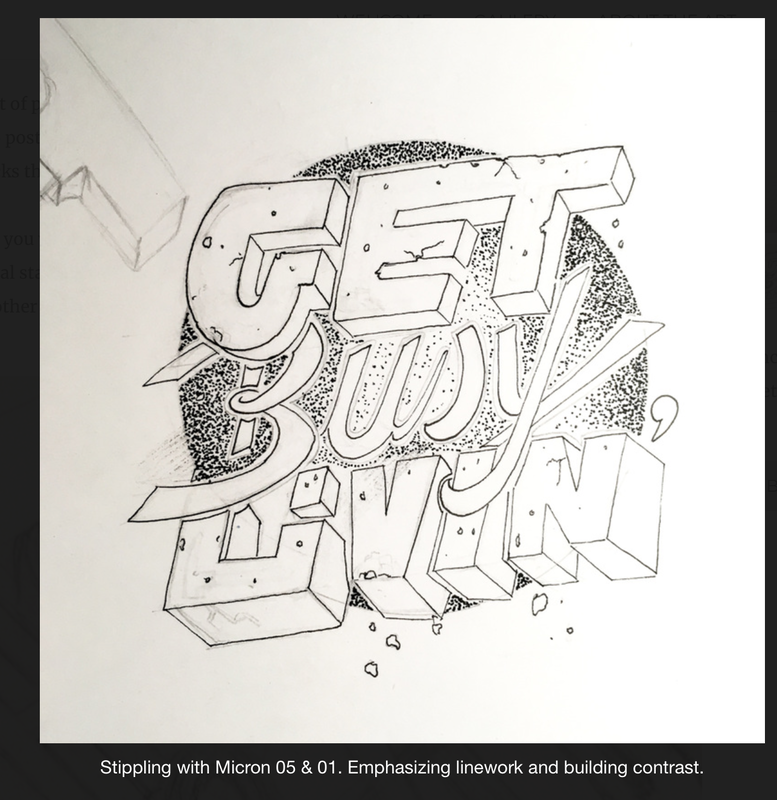
RESEARCH: Hand lettered typography - look at examples!!
RESEARCH: Hand lettered typography - look at examples!!
This project will be in 2 parts:
- hand drawn illustration
- then digitizing and colouring text in PS
- hand drawn illustration
- then digitizing and colouring text in PS
STEP 1: RESEARCH & LAYOUT DISSECTION
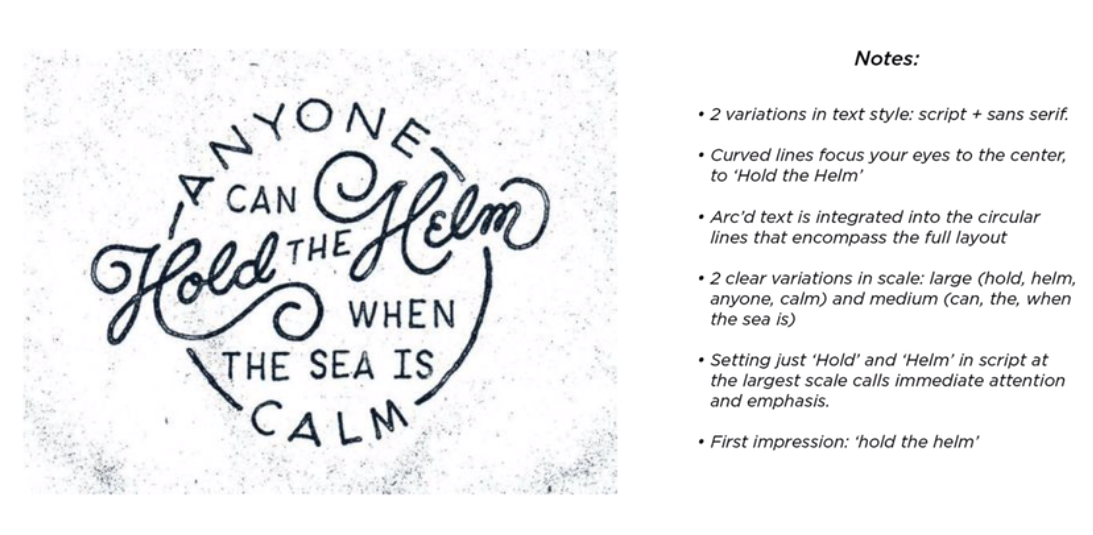
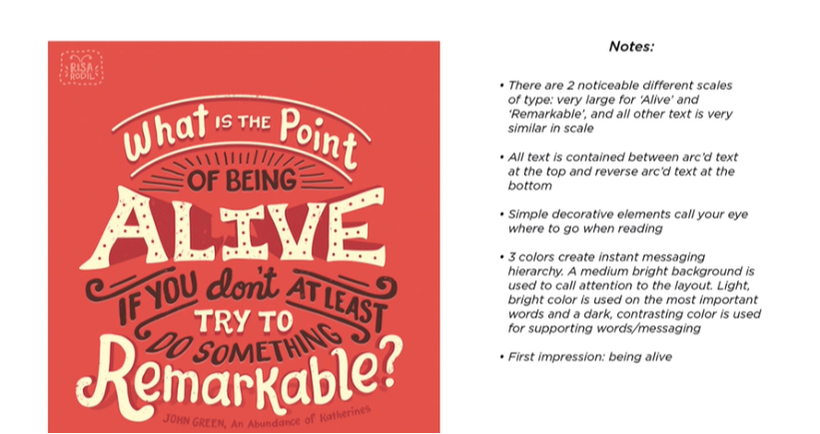
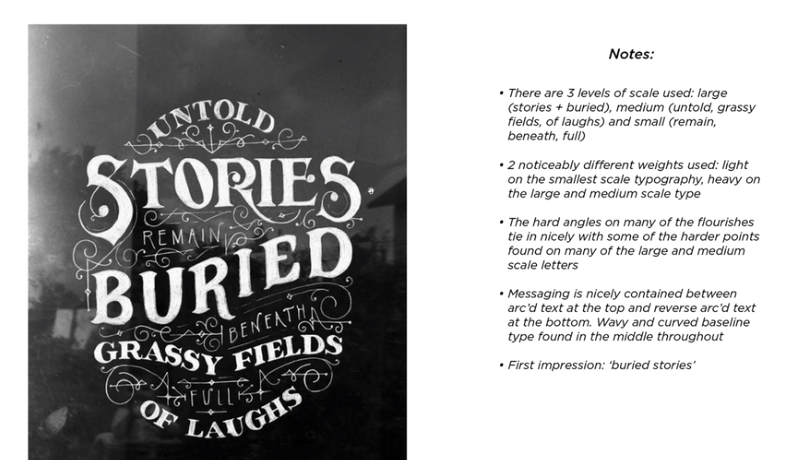
- Find three hand-lettered posters to dissect - place all 3 into a 1-page word document
- Write notes next to each image on the font (size, emphasis, weights, spacing), lines, embellishments, repetition, angles and alignment
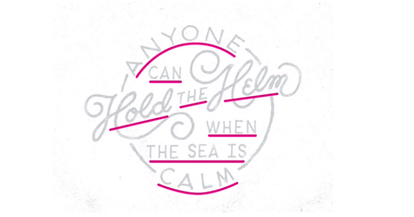
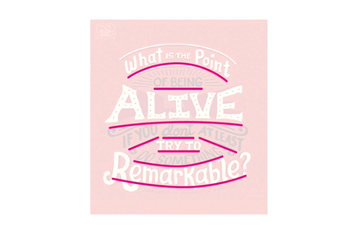
- Next to your notes, draw the line angles, curves, etc that the font is placed on - this will allow you to visually dissect the layout
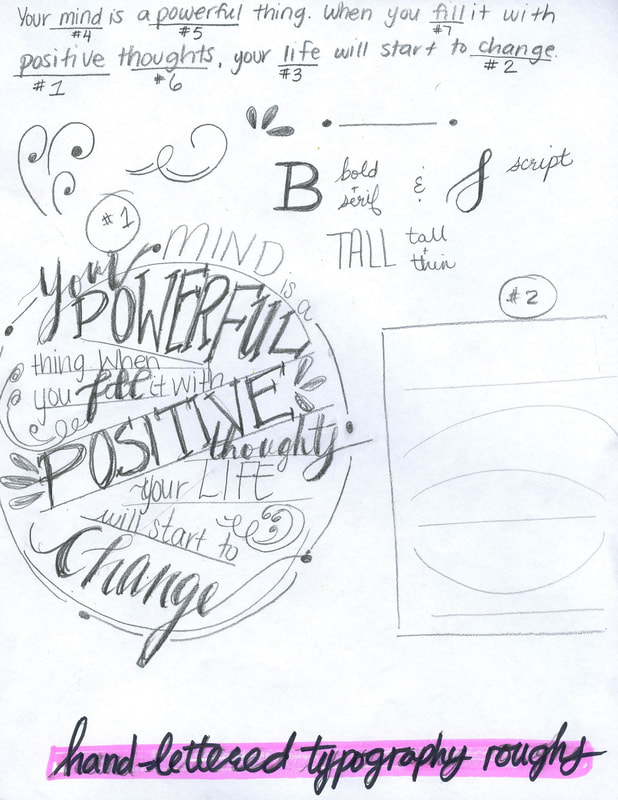
STEP 2: ROUGHS
|
STEP 3: GOOD COPY
- On an 8.5x11 piece of paper
- Use a ruler to map out any straight lines (do this lightly in pencil)
- Map out any curved lines as well (do this lightly in pencil)
- Draw in your text lightly, make sure to pay attention to spacing, which words are more important, etc
- Once your layout is complete, go over everything in black fine liner
- Shade and emphasize any lettering as needed
- Your text MUST FILL THE PAGE
STEP 4: Digitize
- Scan your hand-lettering into the computer
- Open in Photoshop and use CURVES or any other method to help clean up your image (we are looking for a bright white background and black text and elements)
- Use the paint bucket tool to colour in your text, background and elements - remember to keep colours to a minimum - they should work well together (think of contrast, colour scheme relationships, etc)
- You can use the drawing tablets to add in extra elements if needed
STEP 5: Hand In
- PSD File with ALL LAYERS NAMED
- JPG File
- Rough copies that show your process


