Image Tracing in PS
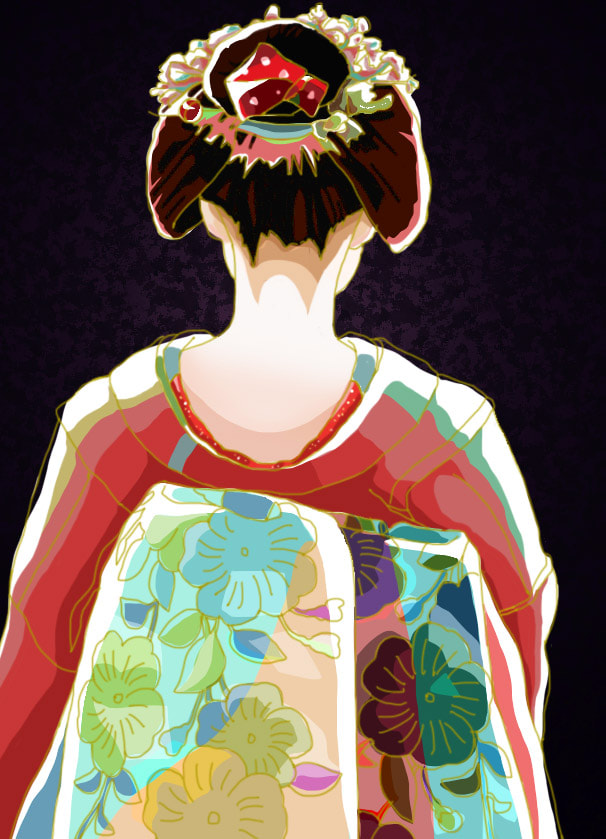
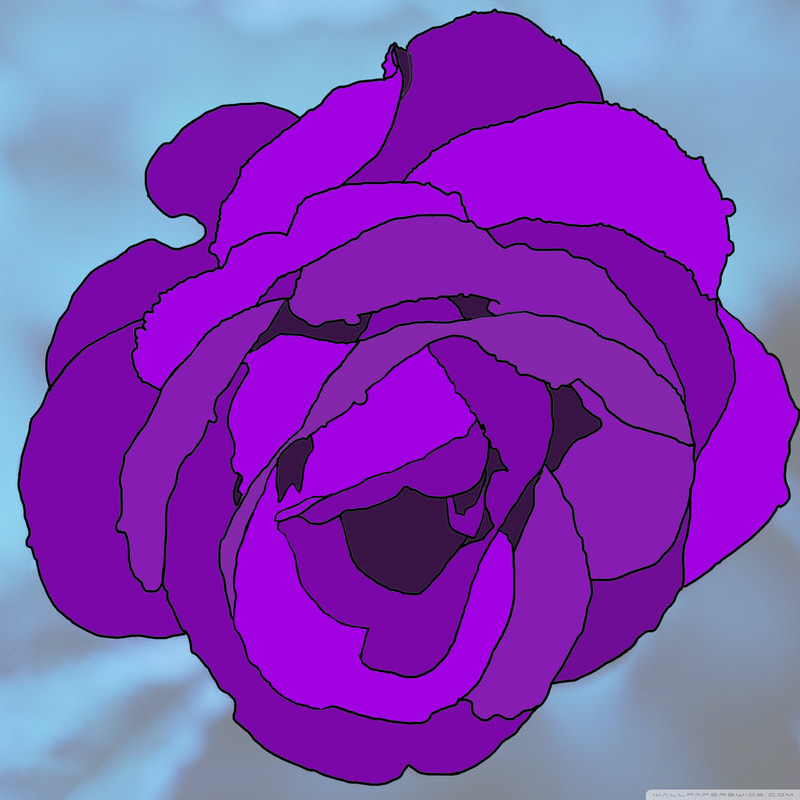
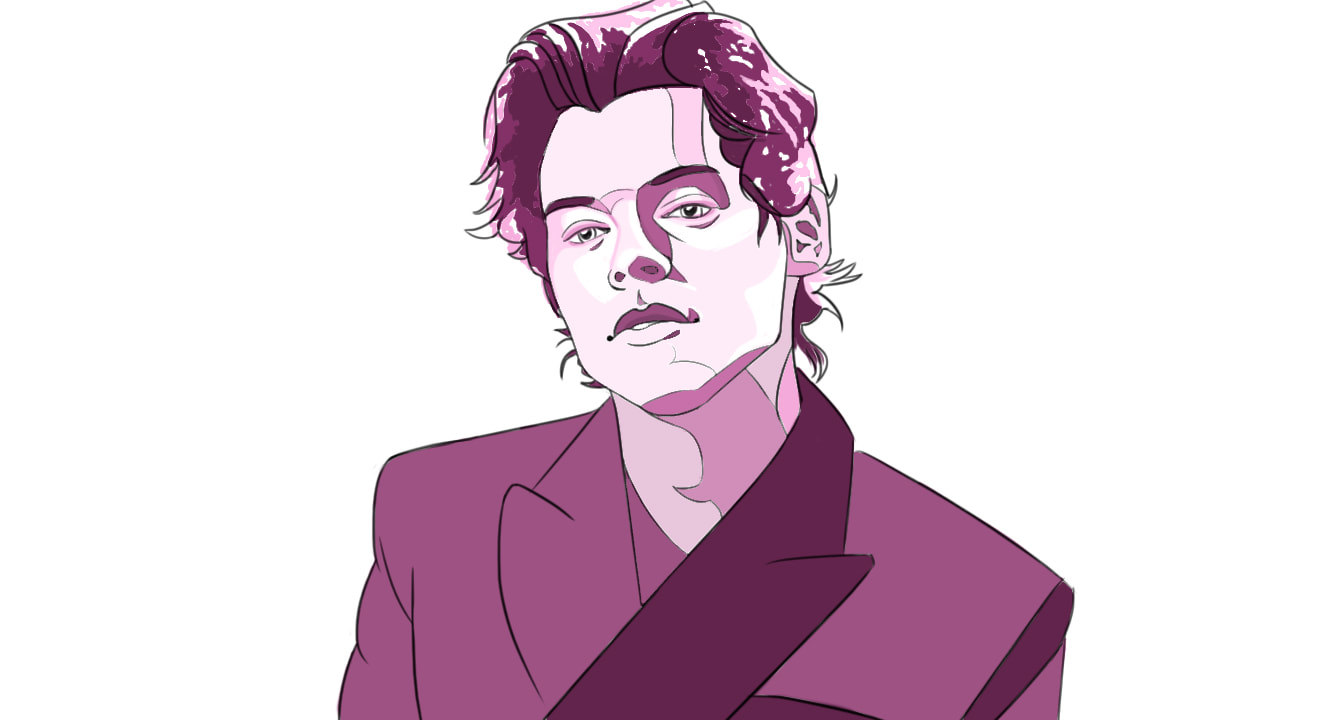
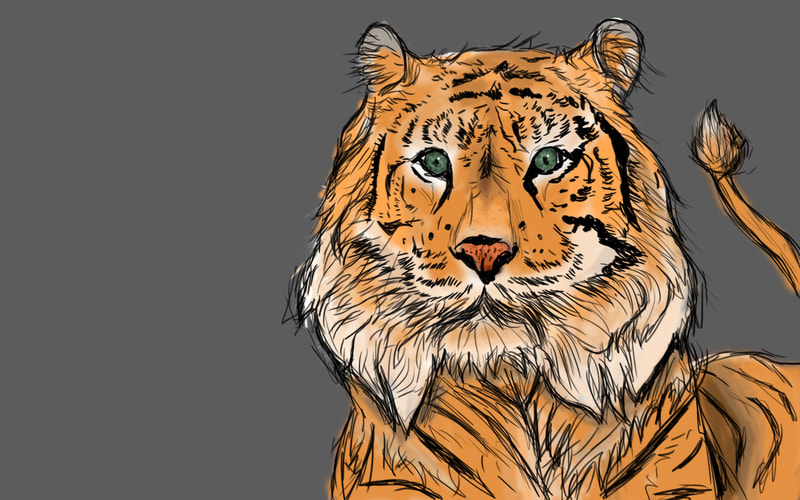
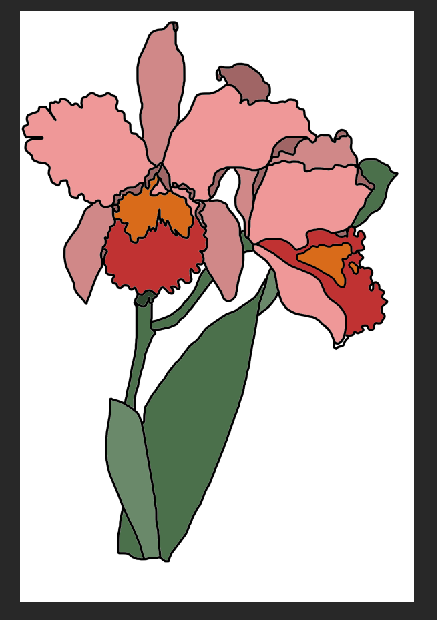
Practice tracing images in PS. This is a great technique to use especially if you are not comfortable drawing people, animals or other difficult objects. It also works well when developing children's books and colouring pages.
STEPS:
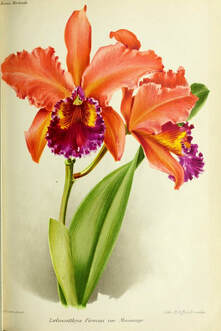
- Find an image to trace
- Open it in PS
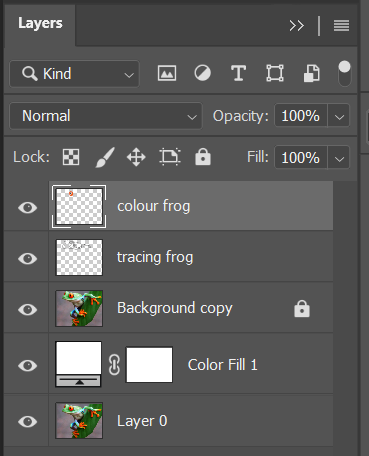
- DUPLICATE the background layer, change the OPACITY to 50% and lock the layer (little lock icon)
- Add a new FILL LAYER in white underneath your background layer
- Add a NEW layer and name it "tracing"
STEPS CONTINUED:
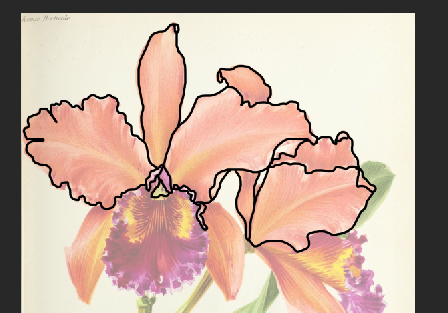
- Working on your "tracing" layer, use a hard paint brush with a small pixel count, to begin tracing your image
- Zoom in for accuracy
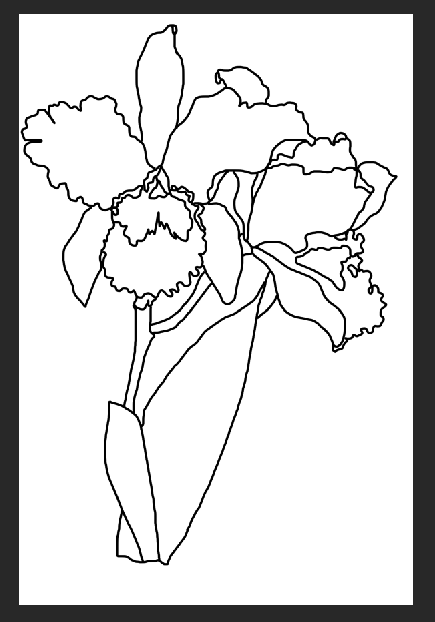
- Make sure to close line shapes (this will affect your drawing when you are filling it with colour later)
- Trace all contour lines as well as any other important lines
- In progress below:
STEPS CONTINUED:
- Once your tracing is completed, HIDE the "background copy" layer by selecting the little eye icon next to the layer
- Add a NEW LAYER and call it "colour"
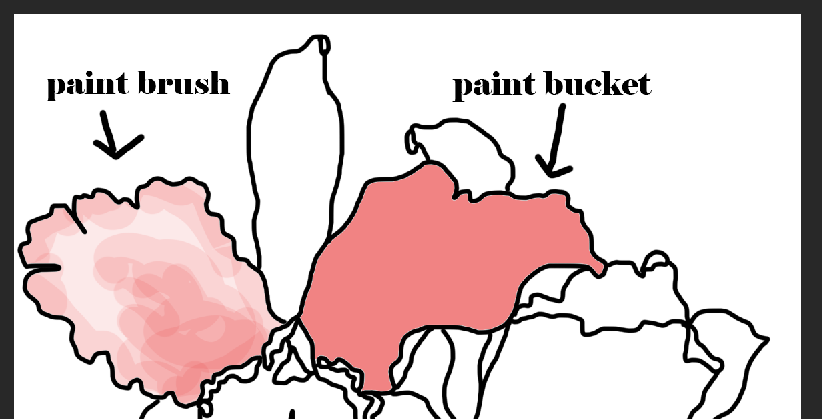
- Begin to fill in the closed sections of your drawing with colour using the paint bucket tool
- If you are comfortable enough, you can also use the paint brush to paint in the colour - an easy way to do this is to use the MAGIC WAND tool (on your TRACING layer and select the area that you want to colour (the selection will prevent you from painting over the edges of the line), then switch back to your colour layer to colour on it


