We will begin by exploring Photoshop and it's powerful tools. In order to be successful in using the program, you must first learn what it can deliver.
READ:
PHOTOSHOP REFERENCE GUIDE: TAKE A LOOK!
ALTERING THE CONTENT OF AN IMAGE
READ:
PHOTOSHOP REFERENCE GUIDE: TAKE A LOOK!
ALTERING THE CONTENT OF AN IMAGE
Mini Exercises #1-3 DUE BY FEB 8th
USING THE SELECTION TOOLS AND BUILDING LAYERS IN SEQUENCE
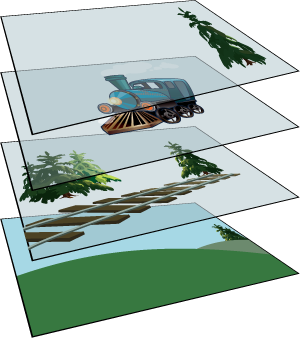
Photoshop layers are like sheets of stacked acetate.
You can see through transparent areas of a layer to the layers to the right
--------------------------------->>>
You move a layer to position the content on the layer, like sliding a sheet of acetate in a stack.
Students learn to use Selection tools:
TRY OUT ALL OF THE TOOLS!
Photoshop layers are like sheets of stacked acetate.
You can see through transparent areas of a layer to the layers to the right
--------------------------------->>>
You move a layer to position the content on the layer, like sliding a sheet of acetate in a stack.
Students learn to use Selection tools:
- Move tool (arrow/selection)
- Marquee tools (rectangular, elliptical)
- Lasso tools (lasso, polygonal, magnetic lasso)
- Magic Wand tool
- Quick Selection tool
TRY OUT ALL OF THE TOOLS!
CUTTING OUT IMAGES: TUTORIALS
1. Here is a great tutorial on the 3 easiest ways to cut out images in Photoshop
2. Another faster paced tutorial is here Another guide covering all of the ways to cut out an image
3. Try out this mini tutorial to practice using the PEN TOOL. Find a high res image of a banana to cut out
1. Here is a great tutorial on the 3 easiest ways to cut out images in Photoshop
2. Another faster paced tutorial is here Another guide covering all of the ways to cut out an image
3. Try out this mini tutorial to practice using the PEN TOOL. Find a high res image of a banana to cut out
These are the selection tools.
They are grouped together. We are going to use all of them for this project. Some of them will be much easier than the others. But it is really important to try them all. 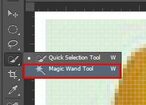
Magic Wand selects the pixels that are of a similar color. It works better to select objects that are of a uniform color.
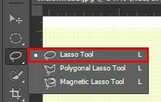
Lasso Tool.
Lasso is a freehand selection tool, you can draw your own selection. 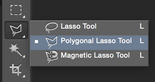
Polygonal Lasso Tool.
Polygonal Lasso Tool allows you to make selections with straight lines. |
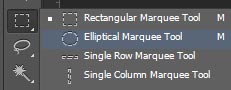
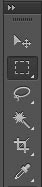
The first group of selection tools is called "Marquee Tools".
Rectangular and elliptical marquee tools will let you make rectangular or circular selections. Single row and Single column tools will let you select a row that is 1 pixel high or a column that is 1 pixel wide. 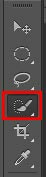
Quick Selection Tool.
This tool is a cross between Magic Wand and a Brush Tool. It selects as you move it around. 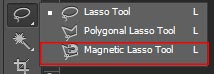
Magnetic Lasso Tool. It is similar to Lasso Tool. It also allows you to "draw" the selection, but.....
Magnetic Lasso will snap to the edges of the objects that you draw. Actually, it snaps to the biggest contrast between the colors (values). Usually, the biggest contrast is the edge of an object vs. the background. |
MINI EXERCISES:
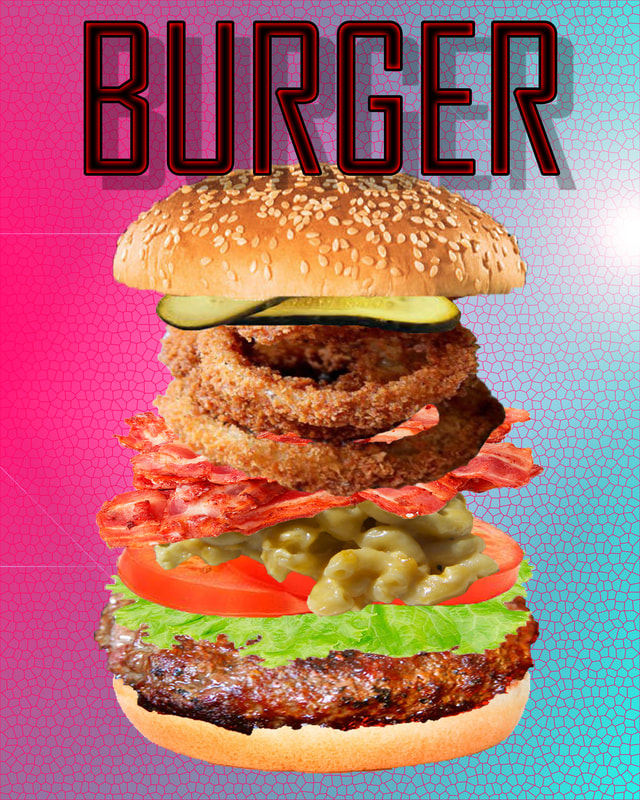
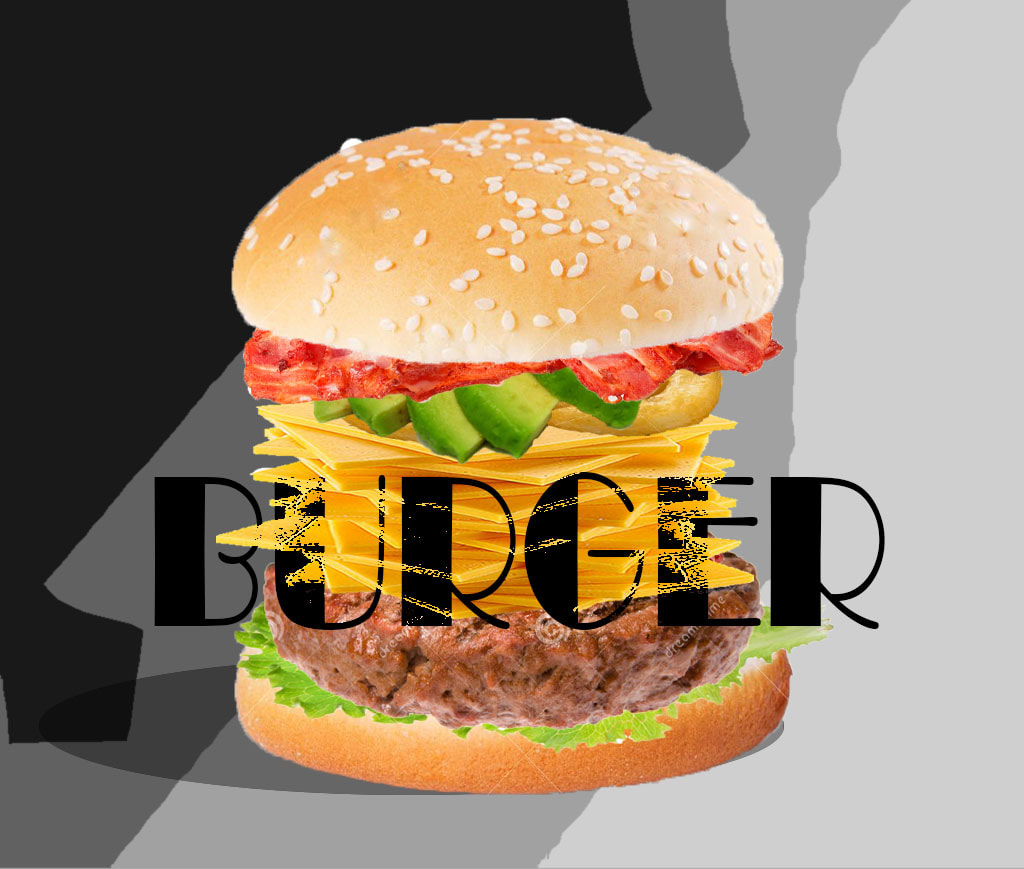
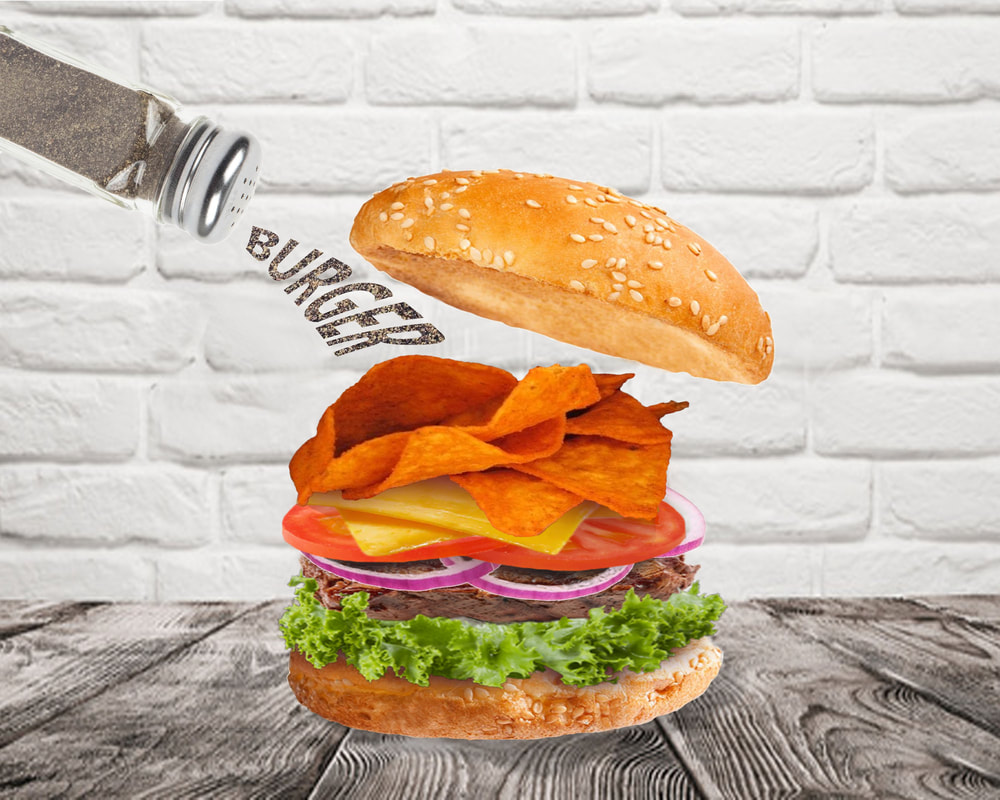
MINI EXERCISE #1: BUILD A BURGER:
"Build a Burger" (it's pretty delicious!). You will search for online images to select, cut and paste to build a burger. This exercise will help you understand building layers in sequence as well as using the SELECTION TOOLS.
"Build a Burger" (it's pretty delicious!). You will search for online images to select, cut and paste to build a burger. This exercise will help you understand building layers in sequence as well as using the SELECTION TOOLS.


MINI EXERCISE #2: SHAPES AND LAYERS
SHAPES AND LAYERS: GETTING FAMILIAR WITH LAYERS/COLOURS/GRADIENT/OPACITY
You will create a fun layered collage using multiple shapes to get familiar with working in layers and how they work together. You will play around with tools, gradients, fills, opacity, and rotating shapes using the transformation tool (CTRL T).
You will create a collage with at least 10 different shapes showcasing different colours, gradients and opacity changes.
1. New document - 8x10 inches
2. Add a series of triangles or other geometric shapes to your canvas, rotate some in different angles
3. Fill each shape with a different colour or gradient
4. Play with the opacity for each shape LABEL each layer
5. Move the layers UP and DOWN on the layers palette to see how it changes your collage
6. Save as a Photoshop document and a JPG document.


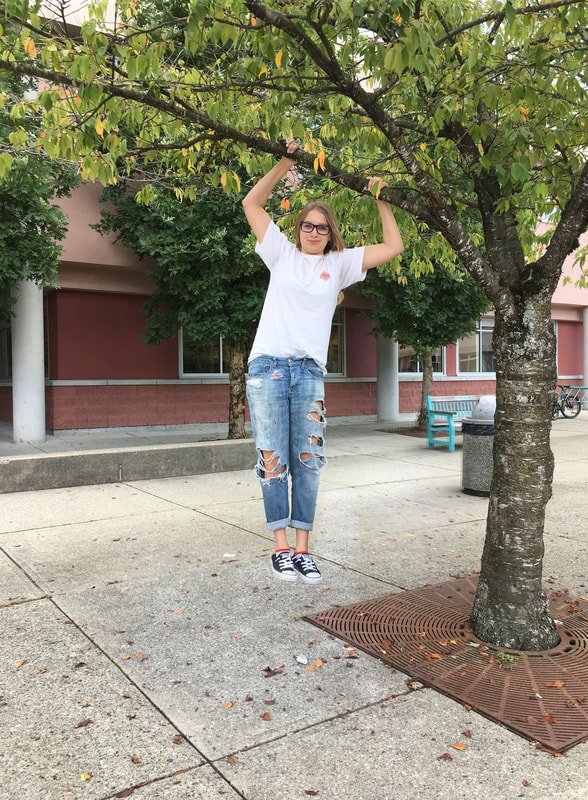
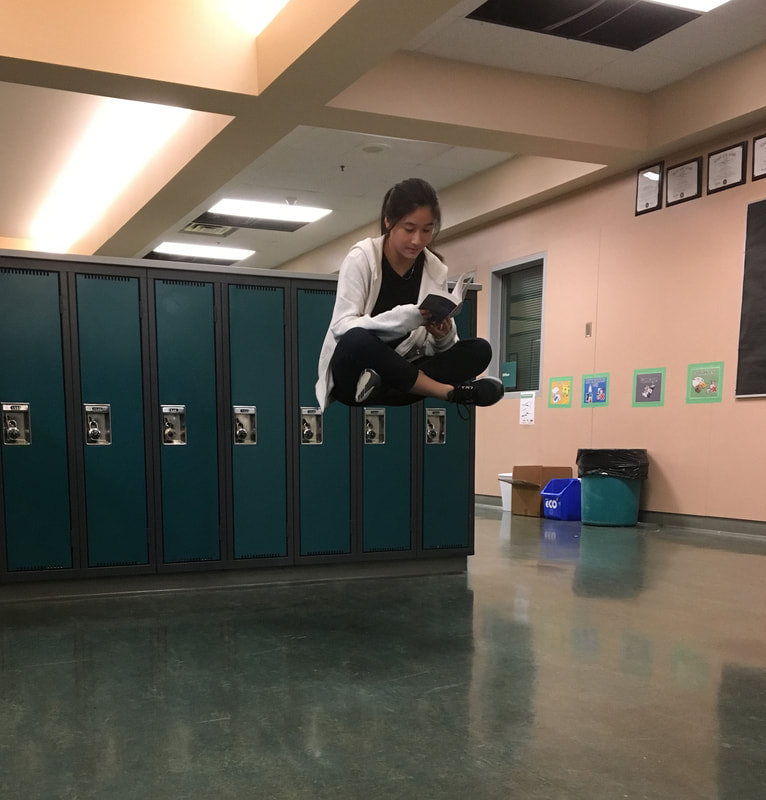
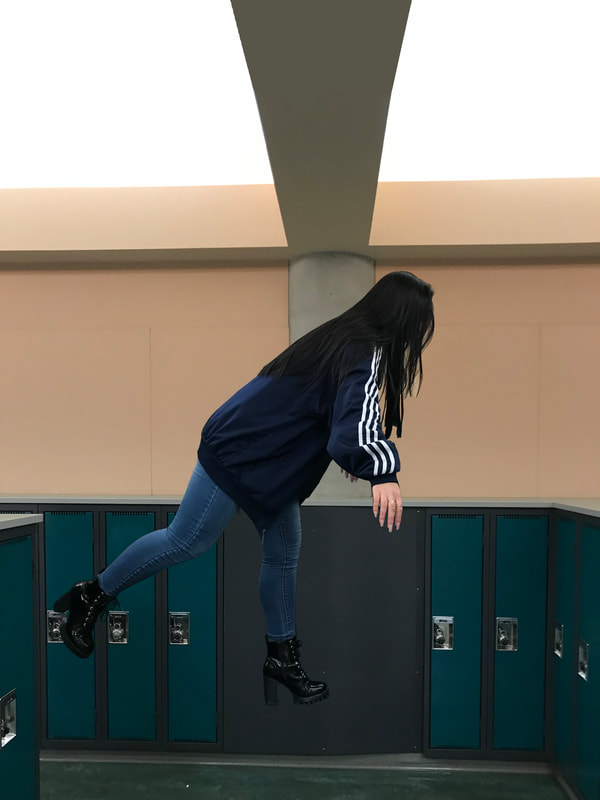
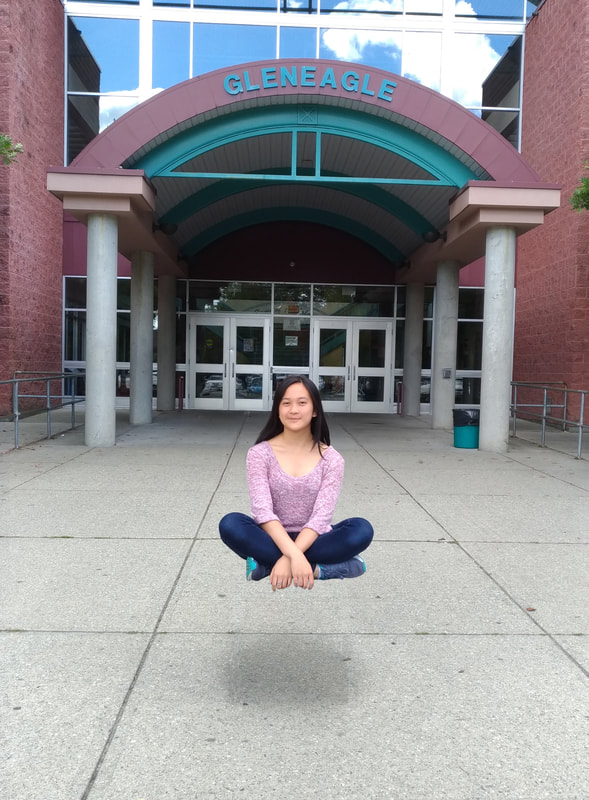
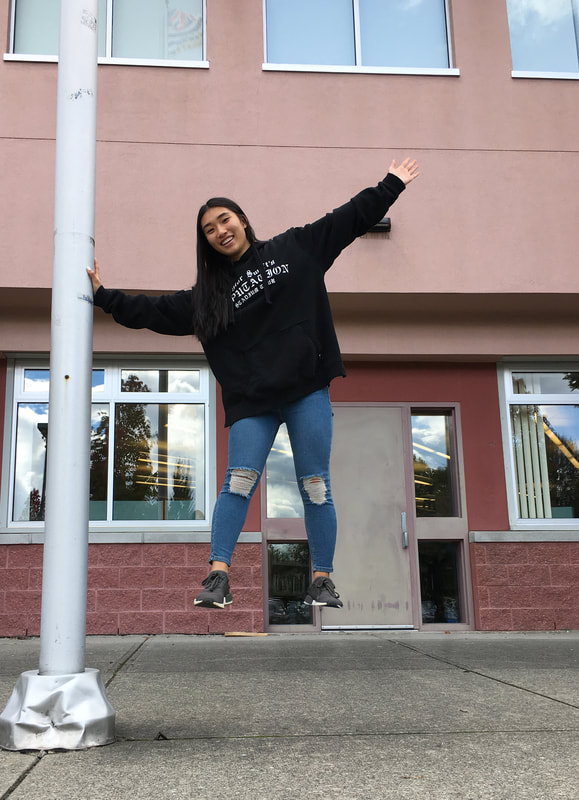
MINI EXERCISE #3: HOW TO LEVITATE!
| howtolevitateinphotoshop.pdf |
Time to levitate! You will be using the MASKING function in Photoshop to mask out the chair as opposed to erasing it. Get used to this function, it is highly useful!

HOW TO HAND IN YOUR WORK:
Put ALL 3 mini exercises into ONE folder labelled with your name:
HAND IN both the PSD and JPG files for ALL 3 exercises.
Student Resources-->STEVENS Hand In --> Choose your BLOCK --> MINI EXERCISES #1-3
HAND IN both the PSD and JPG files for ALL 3 exercises.
Student Resources-->STEVENS Hand In --> Choose your BLOCK --> MINI EXERCISES #1-3
