Mini Exercises #1-3 DUE BY FEB 8th
USING THE SELECTION TOOLS AND BUILDING LAYERS IN SEQUENCE
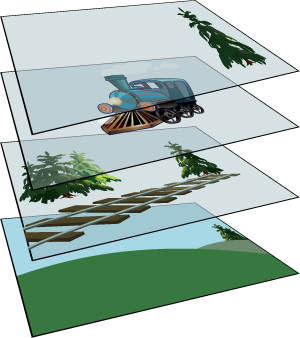
Photoshop layers are like sheets of stacked acetate.
You can see through transparent areas of a layer to the layers to the right
--------------------------------->>>
You move a layer to position the content on the layer, like sliding a sheet of acetate in a stack.
Students learn to use Selection tools:
TRY OUT ALL OF THE TOOLS!
Photoshop layers are like sheets of stacked acetate.
You can see through transparent areas of a layer to the layers to the right
--------------------------------->>>
You move a layer to position the content on the layer, like sliding a sheet of acetate in a stack.
Students learn to use Selection tools:
- Move tool (arrow/selection)
- Marquee tools (rectangular, elliptical)
- Lasso tools (lasso, polygonal, magnetic lasso)
- Magic Wand tool
- Quick Selection tool
TRY OUT ALL OF THE TOOLS!
CUTTING OUT IMAGES: TUTORIALS
1. Here is a great tutorial on the 3 easiest ways to cut out images in Photoshop
2. Another faster paced tutorial is here Another guide covering all of the ways to cut out an image
3. Try out this mini tutorial to practice using the PEN TOOL. Find a high res image of a banana to cut out
1. Here is a great tutorial on the 3 easiest ways to cut out images in Photoshop
2. Another faster paced tutorial is here Another guide covering all of the ways to cut out an image
3. Try out this mini tutorial to practice using the PEN TOOL. Find a high res image of a banana to cut out
EXERCISE #1: SHAPES AND LAYERS
SHAPES AND LAYERS: GETTING FAMILIAR WITH LAYERS/COLOURS/GRADIENT/OPACITY
You will create a fun layered collage using multiple shapes to get familiar with working in layers and how they work together. You will play around with tools, gradients, fills, opacity, and rotating shapes using the transformation tool (CTRL T).
You will create a collage with at least 10 different shapes showcasing different colours, gradients and opacity changes.
1. New document - 8x10 inches
2. Add a series of triangles or other geometric shapes to your canvas, rotate some in different angles
3. Fill each shape with a different colour or gradient
4. Play with the opacity for each shape LABEL each layer
5. Move the layers UP and DOWN on the layers palette to see how it changes your collage
6. Save as a Photoshop document and a JPG document.
EXERCISE #2: GREAT WALL OF PAPER
EXERCISE #3: BLACK AND WHITE TO COLOUR
Adobe Photoshop is a very powerful image editor that can bring life to otherwise dull and unexciting photos. Using the tools and features of the software, a photographer can take his or her pictures to the next level and produce professional-looking images.
In this project, you will learn how to use the selection and coloring tools of Photoshop to add a splash of color to a black and white photo. The overall goal is to bring a dull photo back to life by accurately coloring the components to make them seem life-like.
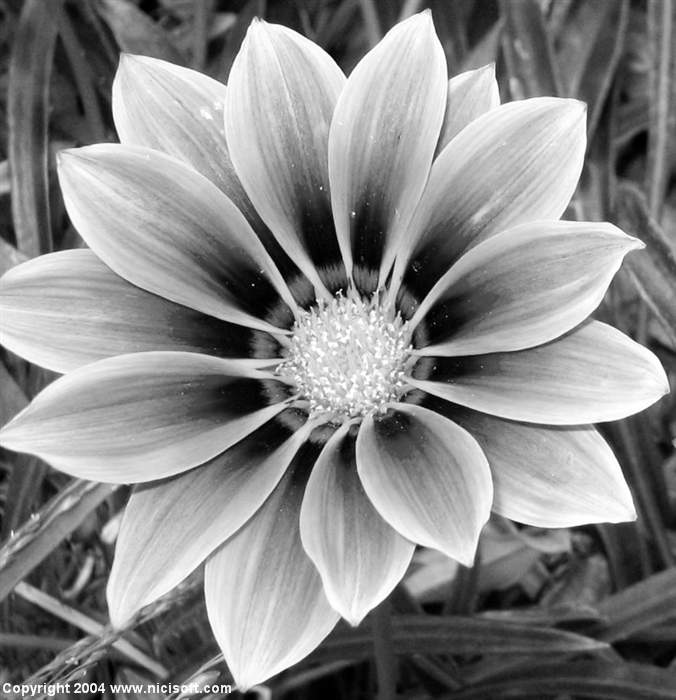
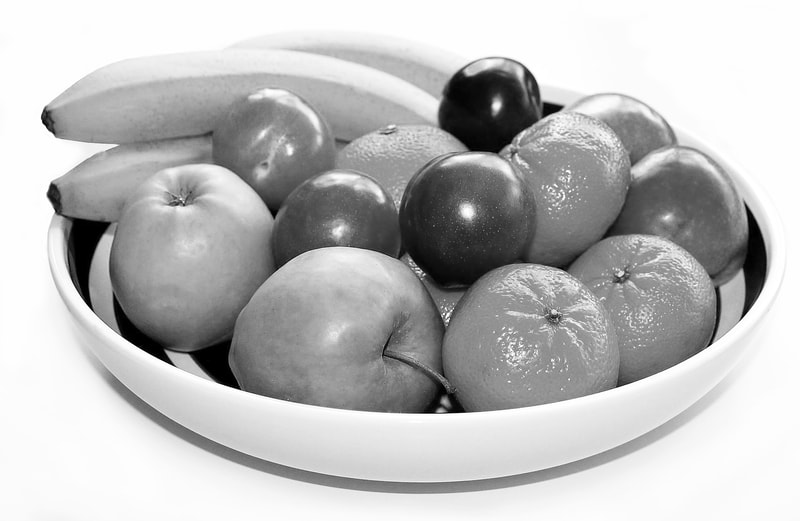
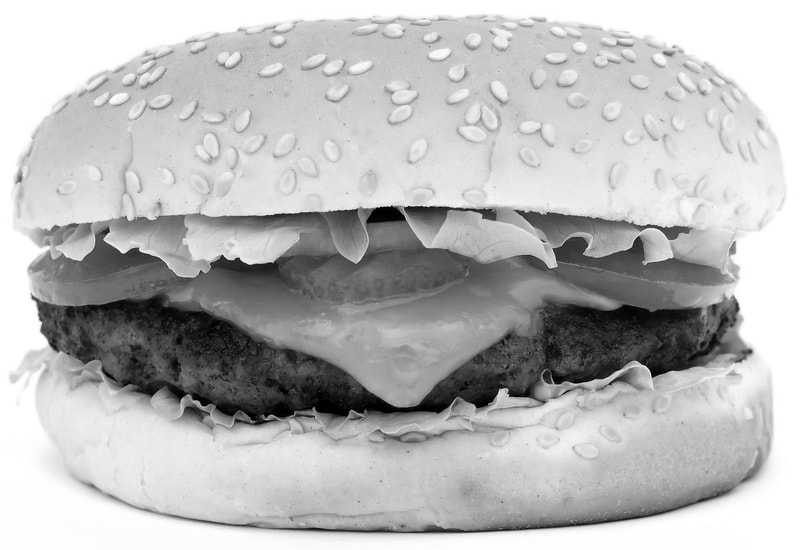
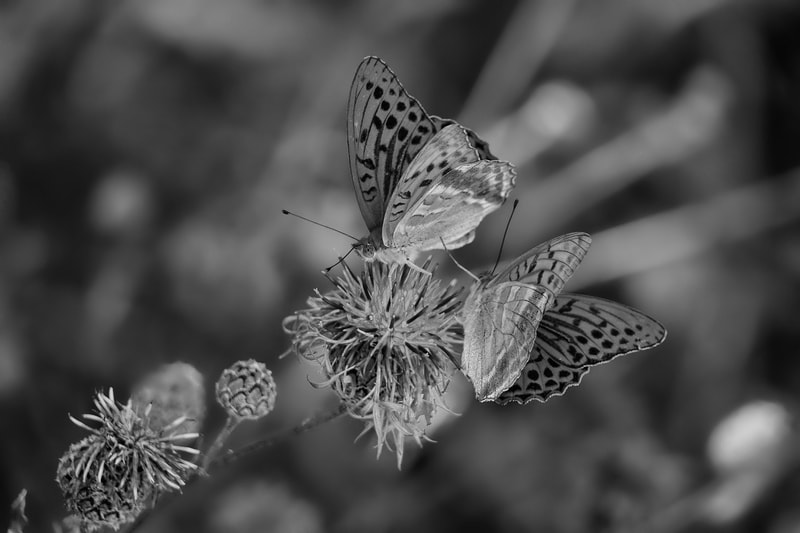
Choose one of the black and white images below and use the refined selection tools of Photoshop to carefully select particular areas and add color. Be sure to add each color on its own layer just in case you need to make adjustments later on. Leaving several colors on the same layer (especially the background layer) can result in you having to start your project all over again!
Find the instructions HERE.
|
CHOOSE ONE OF THE FOLLOWING IMAGES BELOW:
| ||
HOW TO HAND IN YOUR WORK:
As you work, save your project as a .psd and name it first name + last initial + _bw.psd. When you are finished, save it again as a JPEG with the same name (ex: bobJ_bw.jpg) Submit the .JPG file to the proper assignment folder on TEAMS. Don't forget to review the rubric to make sure you are meeting all of the project requirements!


