


SOURCE AND MIX: A VINTAG-Y DIGITAL COLLAGE
CREATING A DIGITAL COLLAGE FROM SOURCED, ONLINE, FREE-TO-USE VINTAGE ENCYCLOPEDIA ILLUSTRATIONS
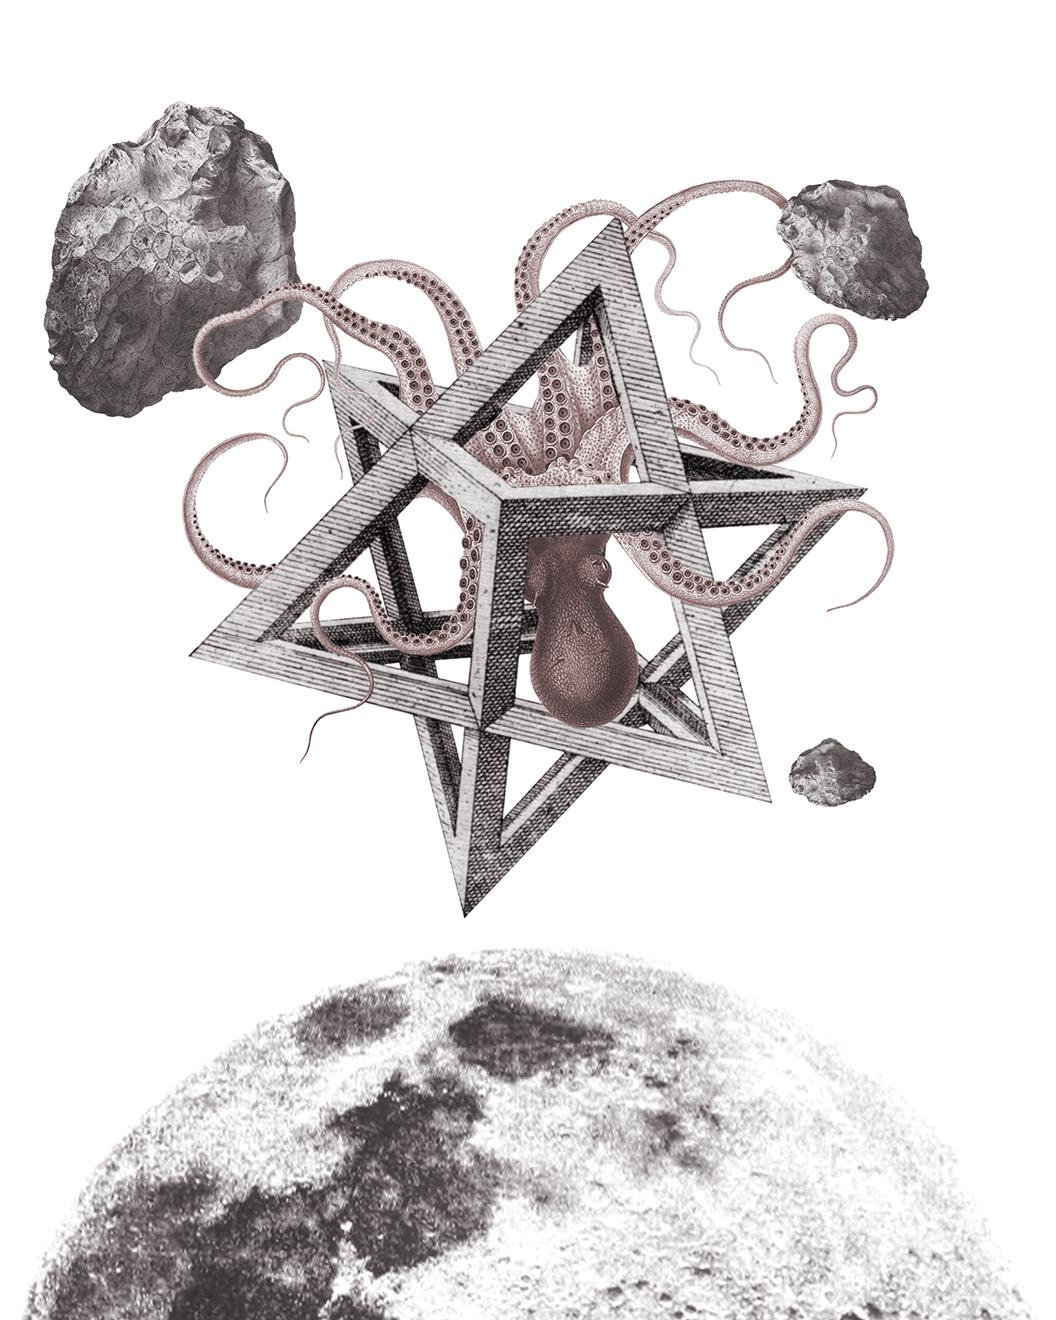
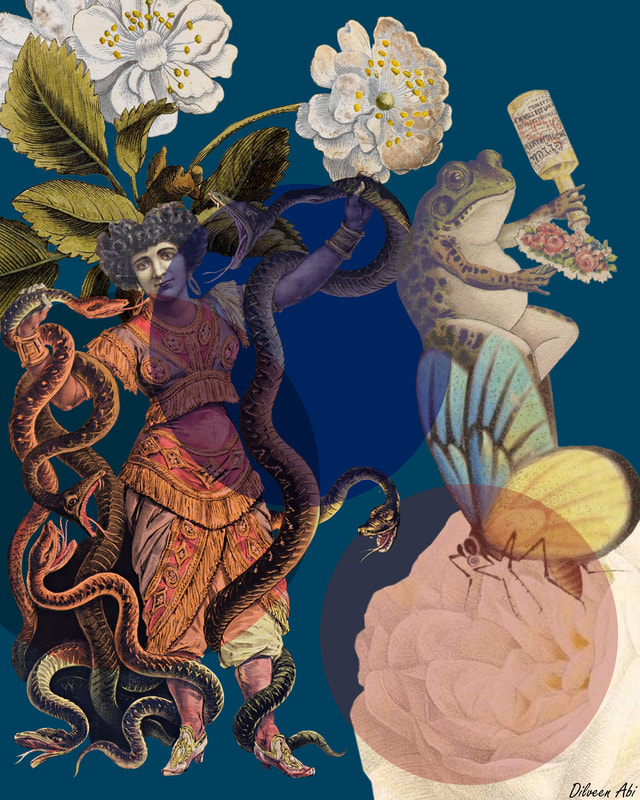
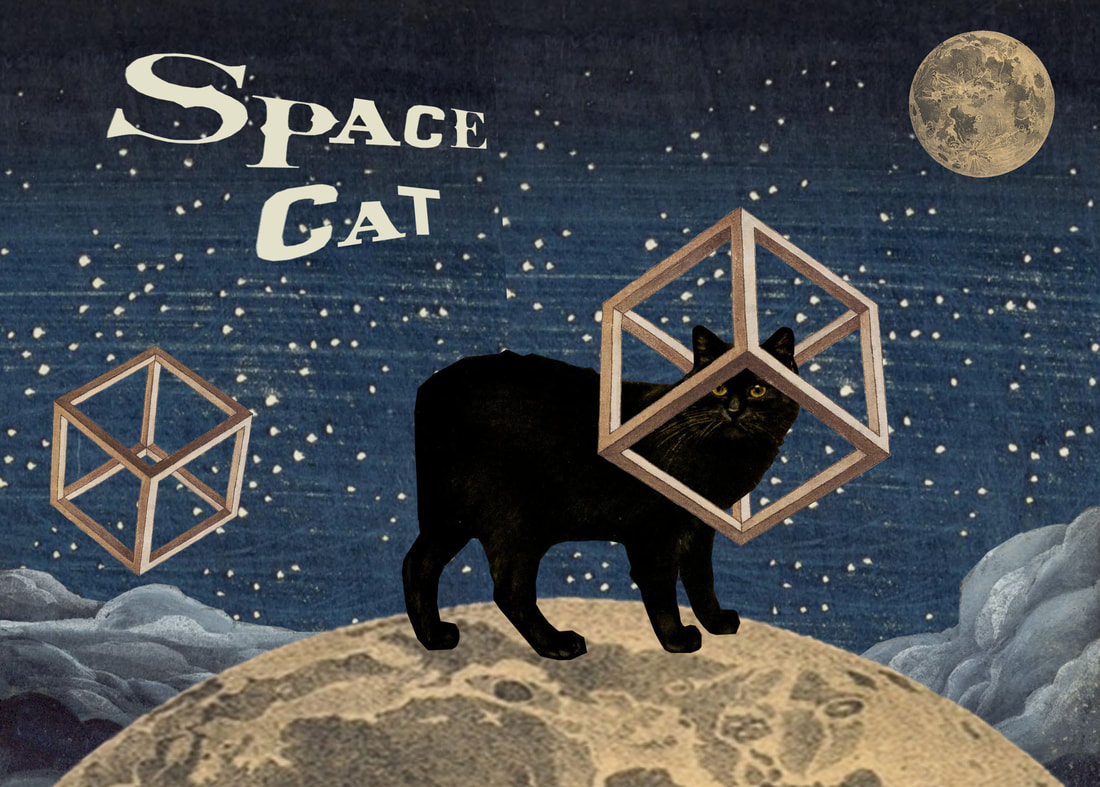
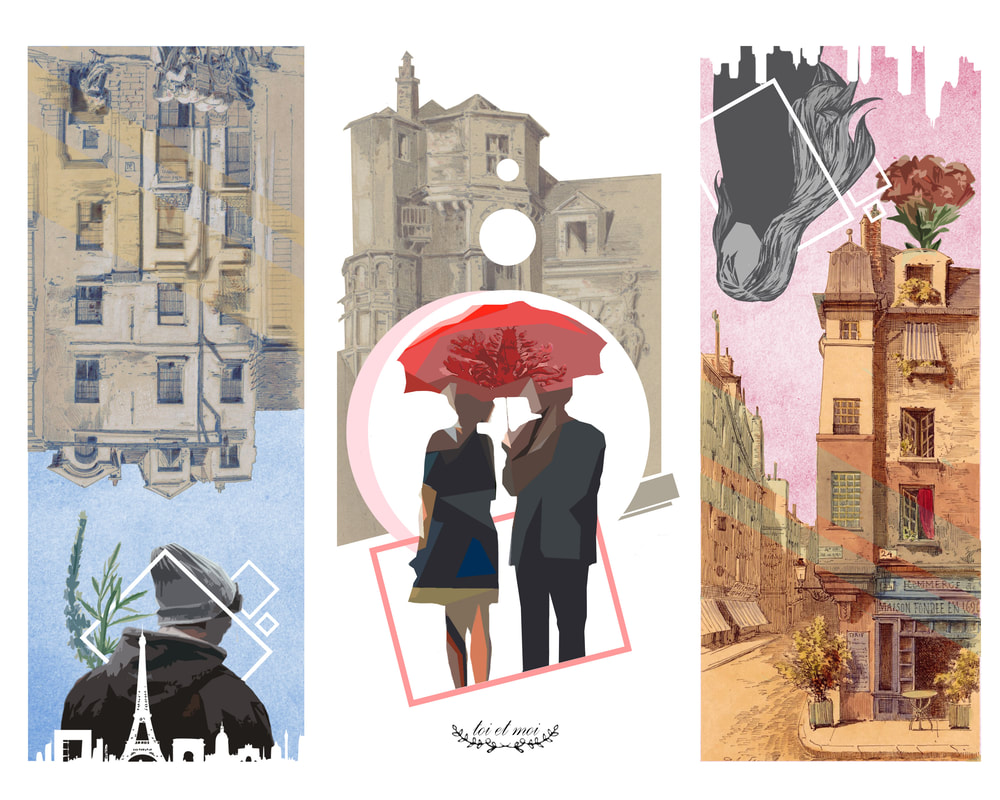
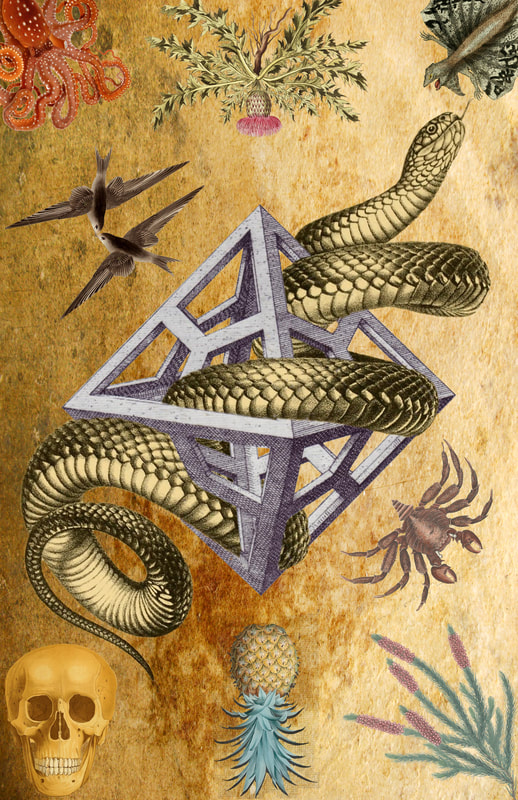
Creating collages is a fantastic way of making MIXING different elements together, creating the unexpected, and creating compositions with original visual messages. The purpose of collage is to allow you to combine, juxtapose, repeat and alter.
COPYRIGHT INFORMATION: when sourcing images online, make sure to check out the copyright and license disclaimers for the image that you want to use. Google has a setting that allows you to only search for images that are free to use.
DOWNLOAD: the best practice is to have large and high resolution images
WORKFLOW EFFICIENCY: Create a file folder to save all of your source images, cut images and all artwork files.
STEP 1: SOURCE YOUR IMAGES AND PREPARE THEM FOR COLLAGE
Bibliodyssey Flickr Library
U.S. Department of Agriculture Pomological Watercolor Collection
The J. Paul Getty Museum
Getty Collection Search Gateway
Creating collages is a fantastic way of making MIXING different elements together, creating the unexpected, and creating compositions with original visual messages. The purpose of collage is to allow you to combine, juxtapose, repeat and alter.
COPYRIGHT INFORMATION: when sourcing images online, make sure to check out the copyright and license disclaimers for the image that you want to use. Google has a setting that allows you to only search for images that are free to use.
DOWNLOAD: the best practice is to have large and high resolution images
WORKFLOW EFFICIENCY: Create a file folder to save all of your source images, cut images and all artwork files.
STEP 1: SOURCE YOUR IMAGES AND PREPARE THEM FOR COLLAGE
- look through the images archives from following websites and choose images which INSPIRE you
- download the images to your project folder
- after reviewing your images, develop your idea based on them by completing a few rough sketches in pencil about possible designs. You will be submitting these sketches to submit with your project files (digital versions though - scan them)
Bibliodyssey Flickr Library
U.S. Department of Agriculture Pomological Watercolor Collection
The J. Paul Getty Museum
Getty Collection Search Gateway
STEP 2: IN PHOTOSHOP
Tools: polygonal lasso, magnetic lasso, masking, free transform, filter-->smart sharpen
PREPPING YOUR IMAGE FOR CUTTING:
PRECISE CUTTING:
MAKING THE COLLAGE:
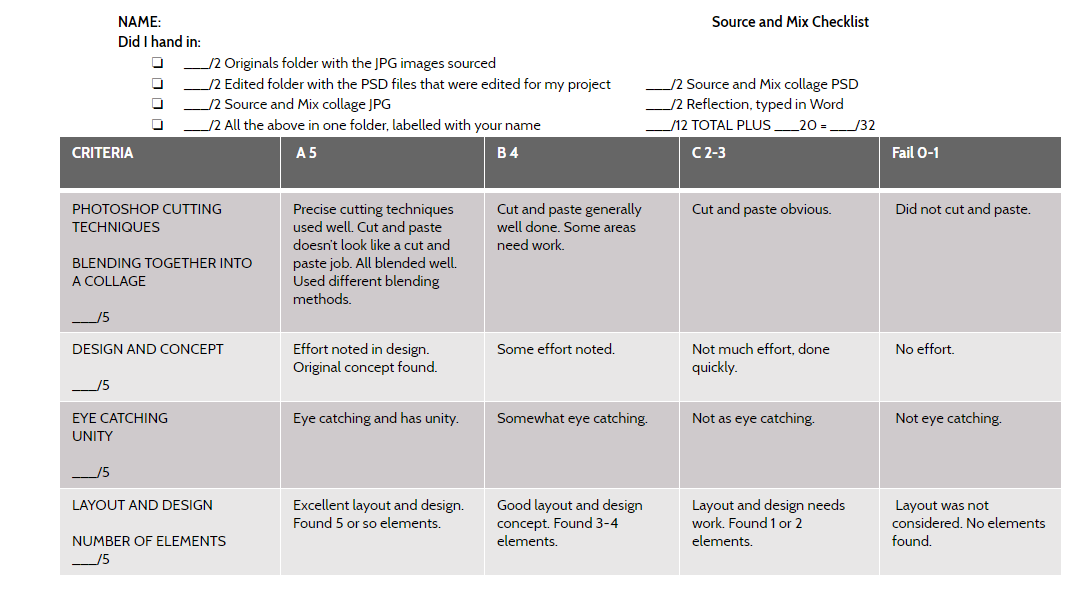
HANDING IN YOUR WORK:
· REFLECTION: a few words about how you approached this project, where the ideas came from, how you picked your source images and what you have learnt – create a word document and save it with your folder for this project
Tools: polygonal lasso, magnetic lasso, masking, free transform, filter-->smart sharpen
PREPPING YOUR IMAGE FOR CUTTING:
- Open your source image, cut it out and save it as a new PSD file
- Double click on the background layer to get rid of it, so that your image will have a transparent background
- Duplicate the layer, then hide layer 0 (select the little eye icon next to layer 0)
- add a NEW FILL LAYER in magenta or red (or any bright colour).
- Move the colour fill layer in between 'layer 0' and 'layer 0 copy'
PRECISE CUTTING:
- Make sure you are on LAYER 0 COPY
- Use the POYLGONAL LASSO TOOL to cut
- Turn each layer on and off to check the quality of your cutting. YOUR FOCUS SHOULD BE PRECISE CUTTING
- Once you have cut out your image, HIDE the extra layers and save it. Do this for all of your images that you will be using in your collage.
- SAVE!!
MAKING THE COLLAGE:
- Now, open a new document, 8x10 inches
- Open and embed all of your newly cut out images onto your new document
- Colour the background or use a paper texture (naldz graphics usually has cool ones)
- Arrangement should be visually interesting, objects relate to one another in some way - there should be an OBVIOUS theme! Can relate objects by: size, colour, proximity, repetition, etc.
- Save your final collage as a PSD and JPEG.
HANDING IN YOUR WORK:
- SUBMIT, IN 1 FOLDER:
· ALL original source images;
· ALL edited images
· REFLECTION: a few words about how you approached this project, where the ideas came from, how you picked your source images and what you have learnt – create a word document and save it with your folder for this project

Lesson adapted from: Source-Mix-Digital-Collage-from-Vintage-Encyclopaedia-Illustrations on Skillshare
