|
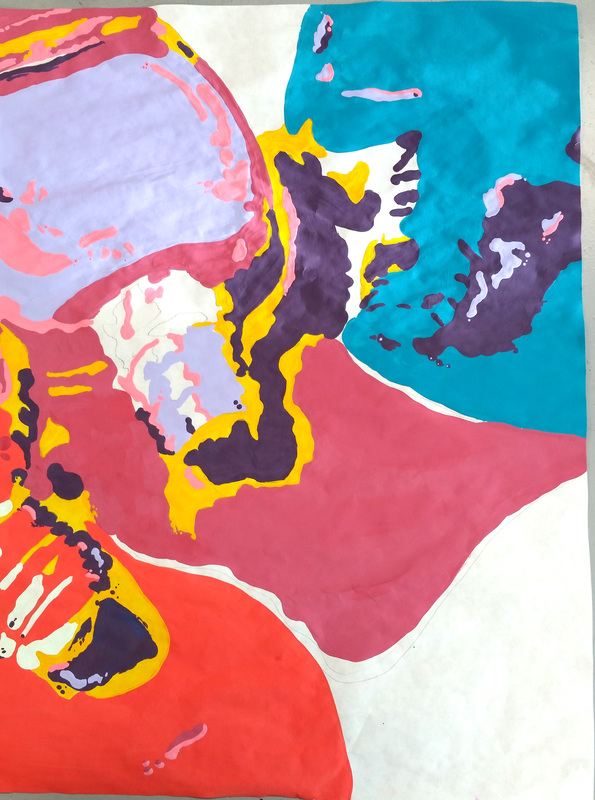
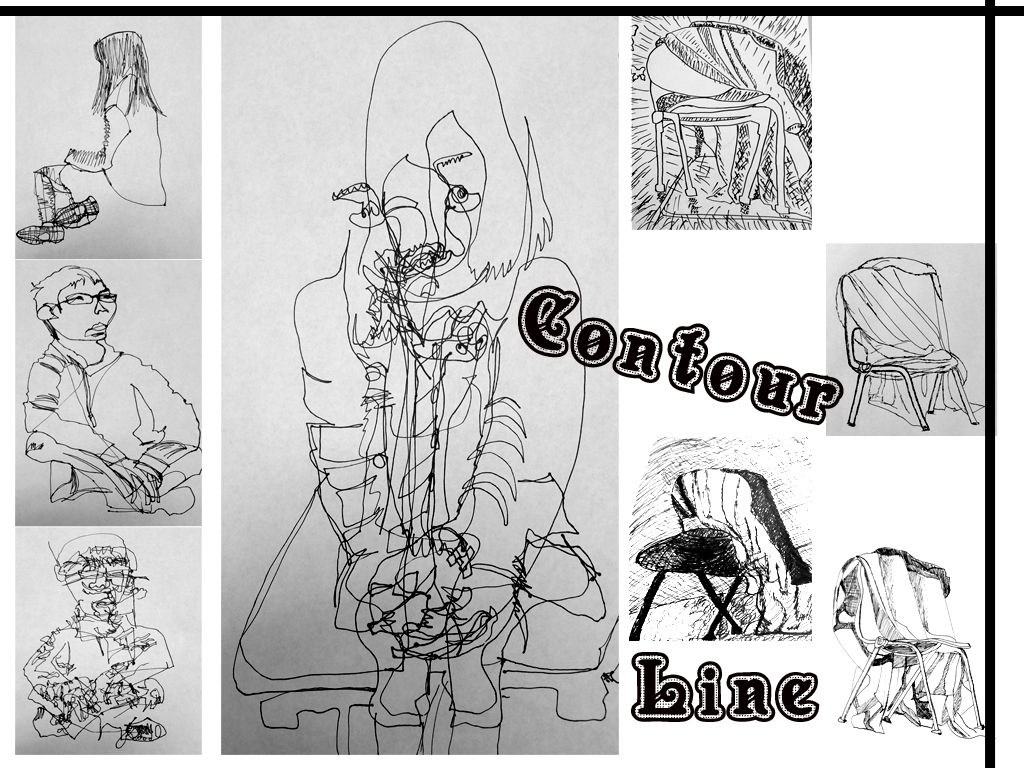
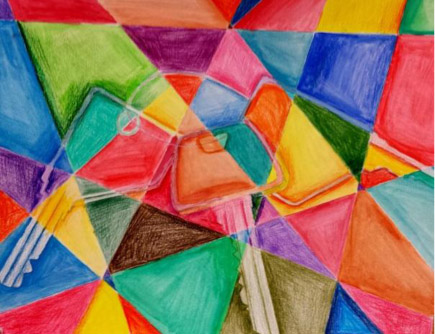
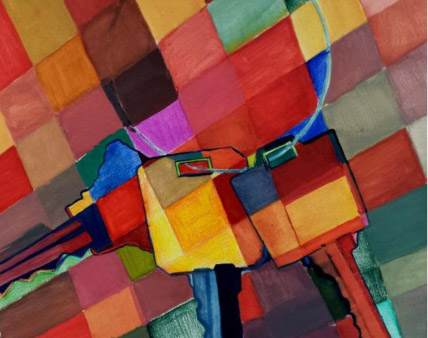
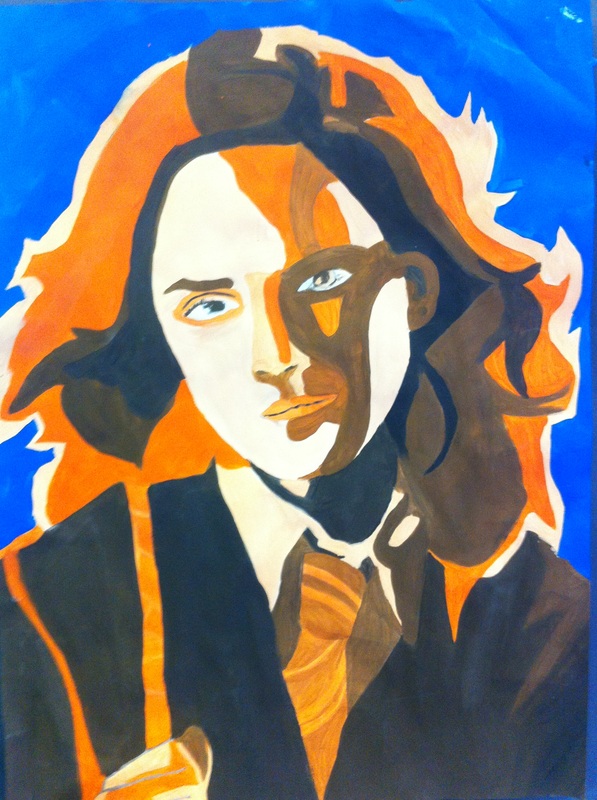
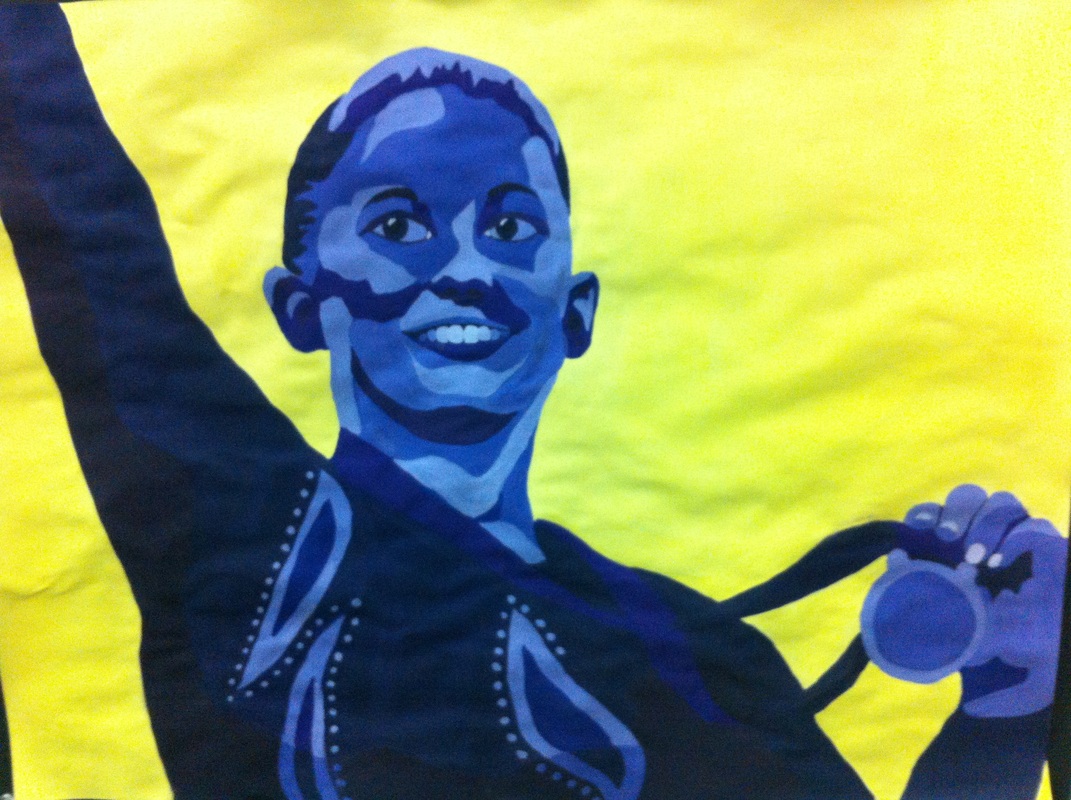
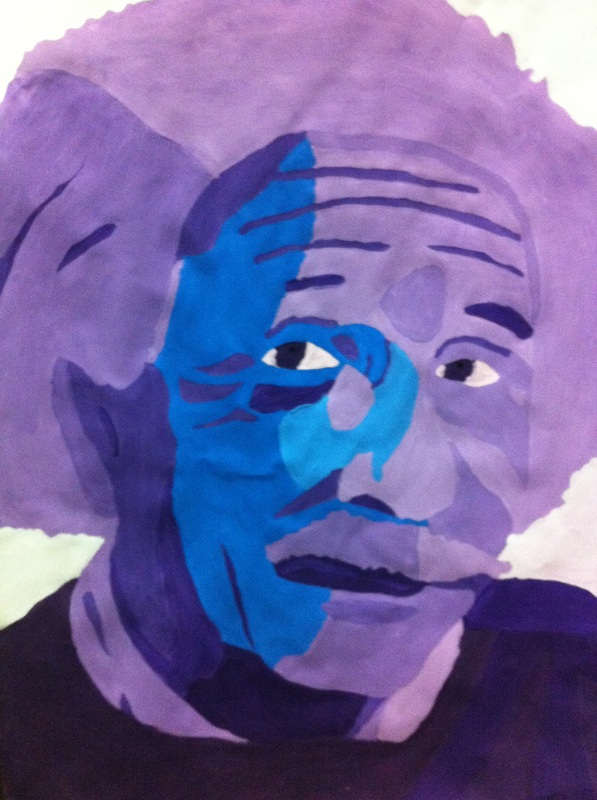
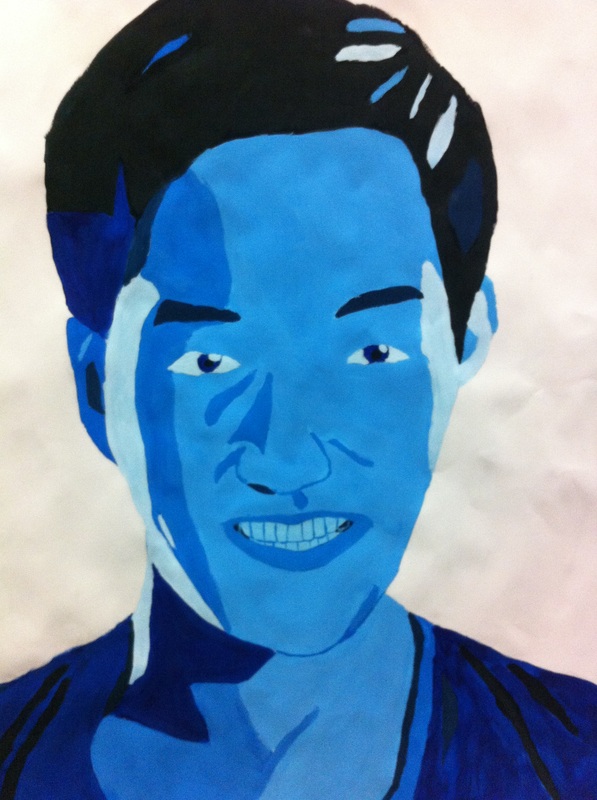
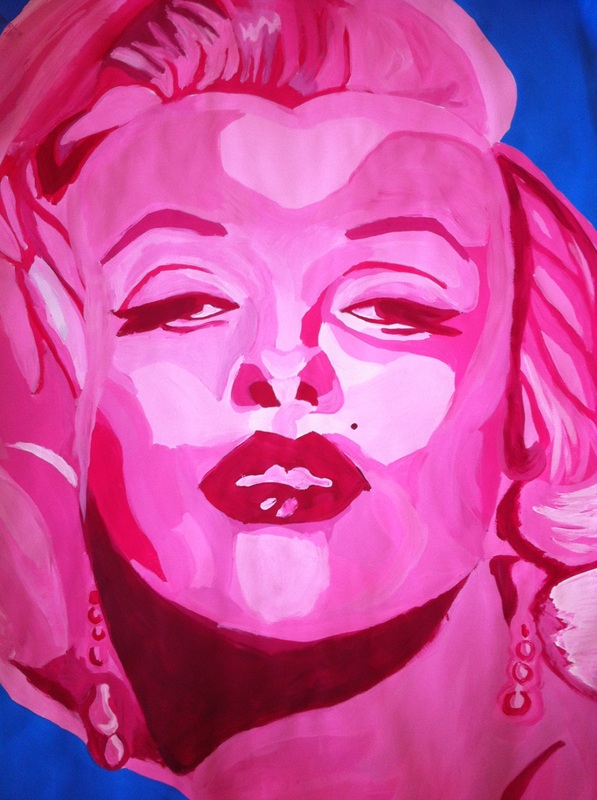
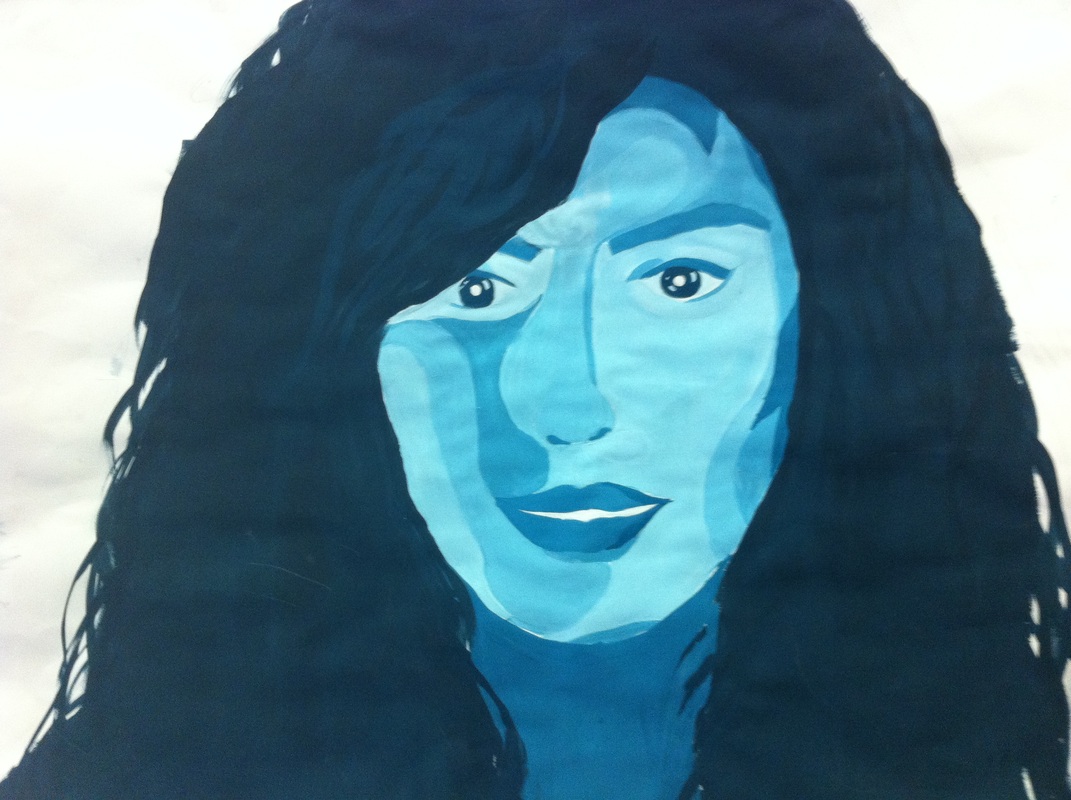
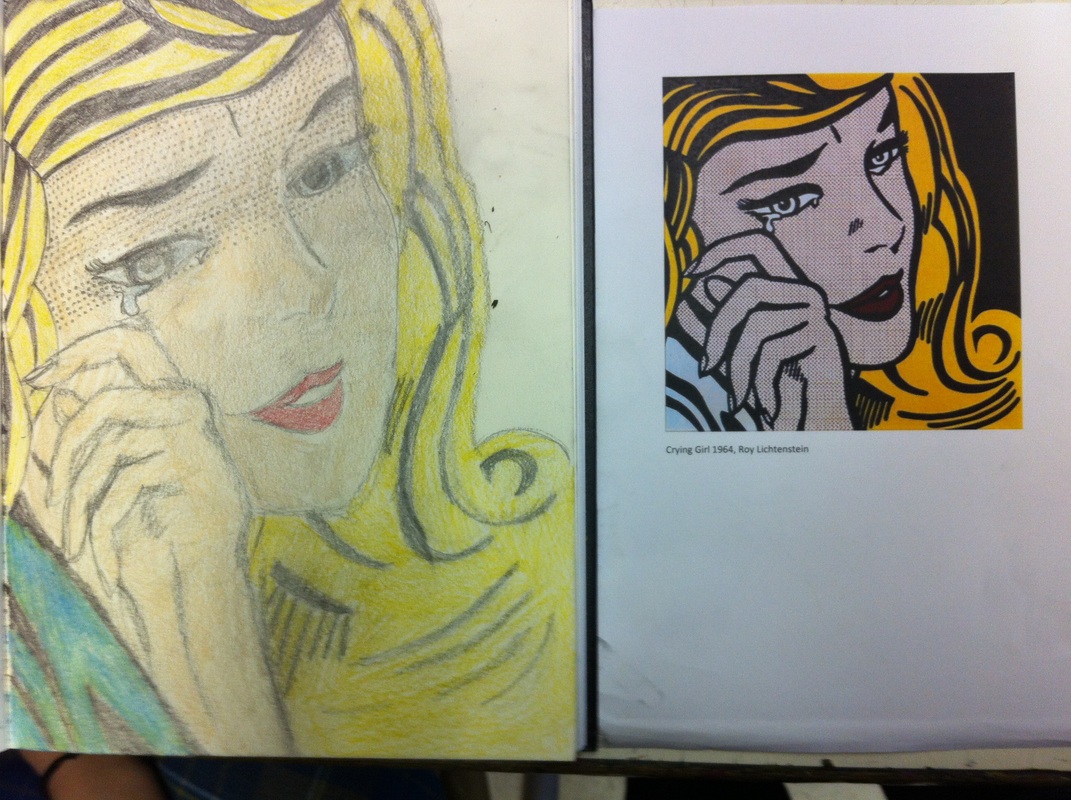
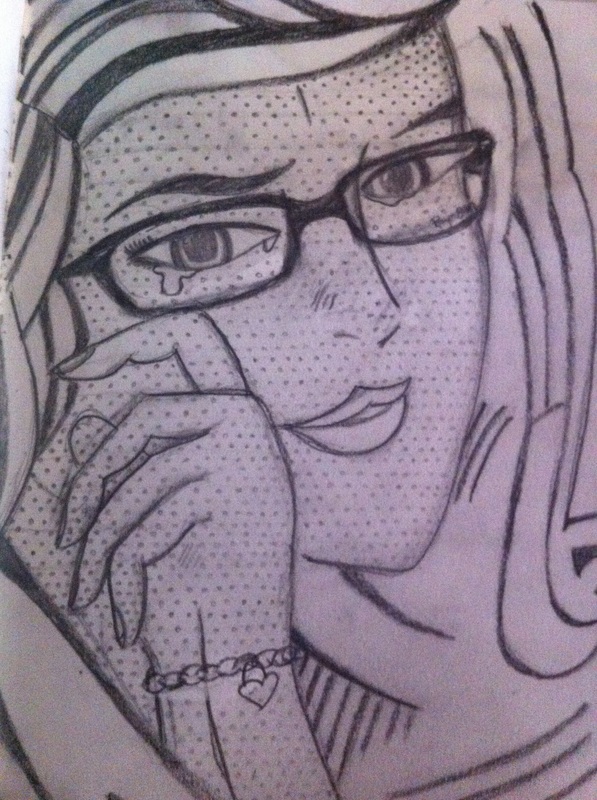
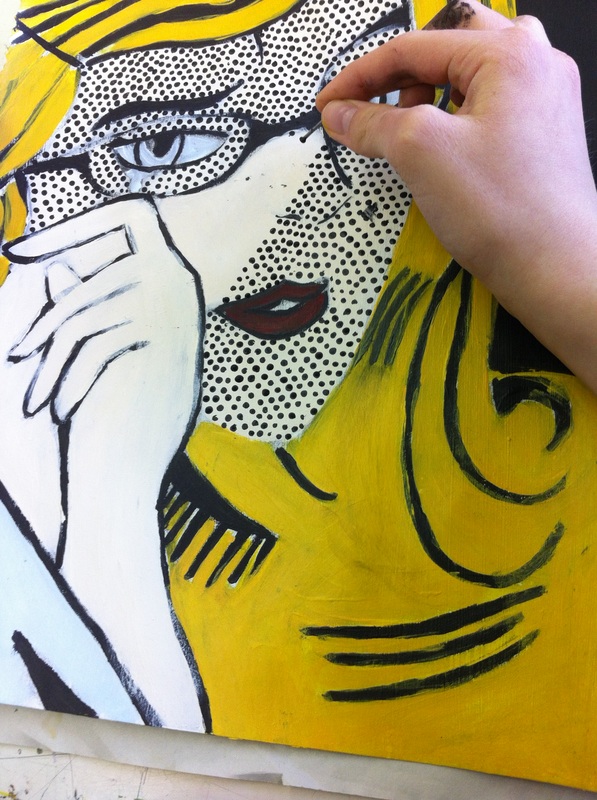
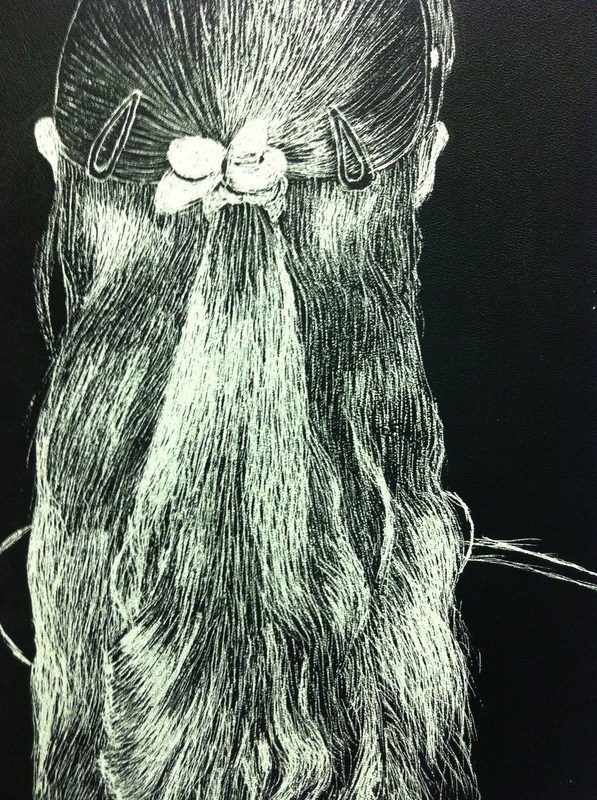
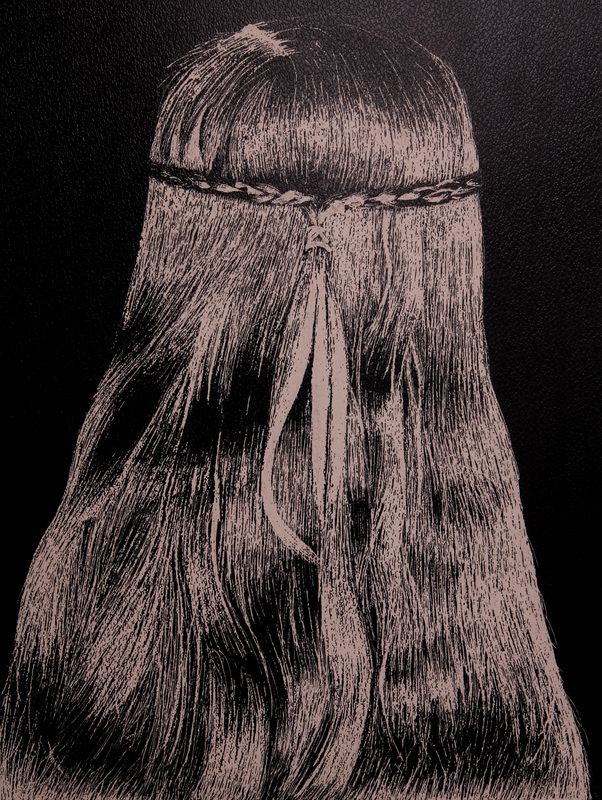
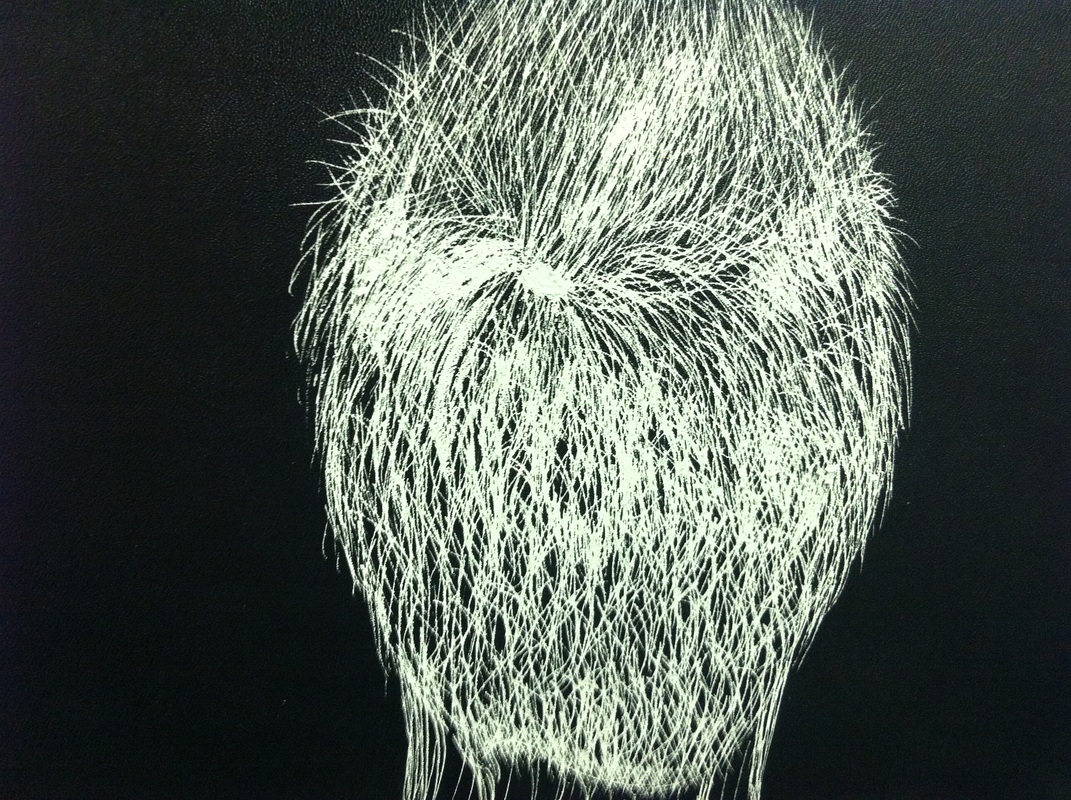
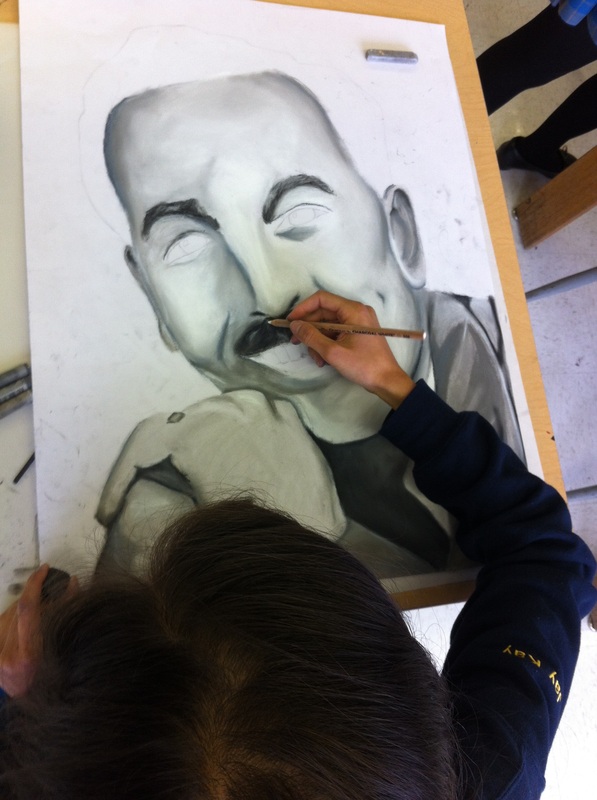
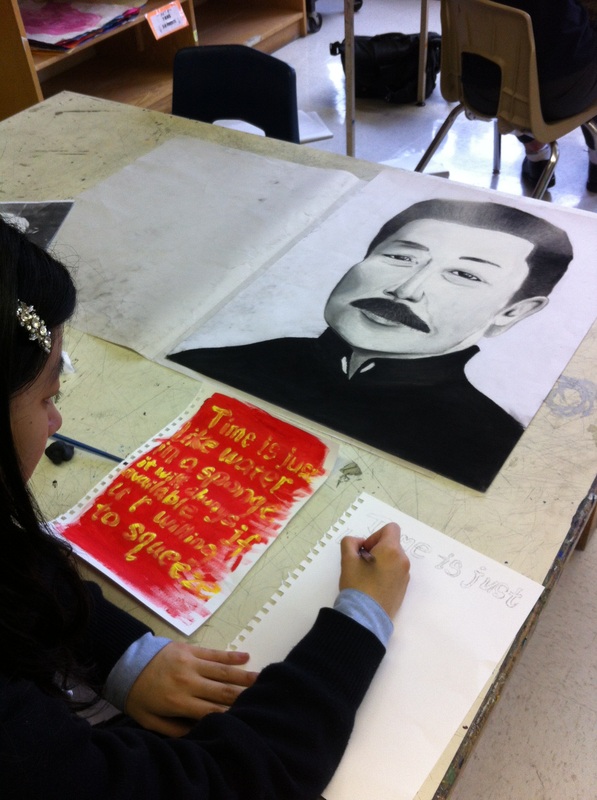
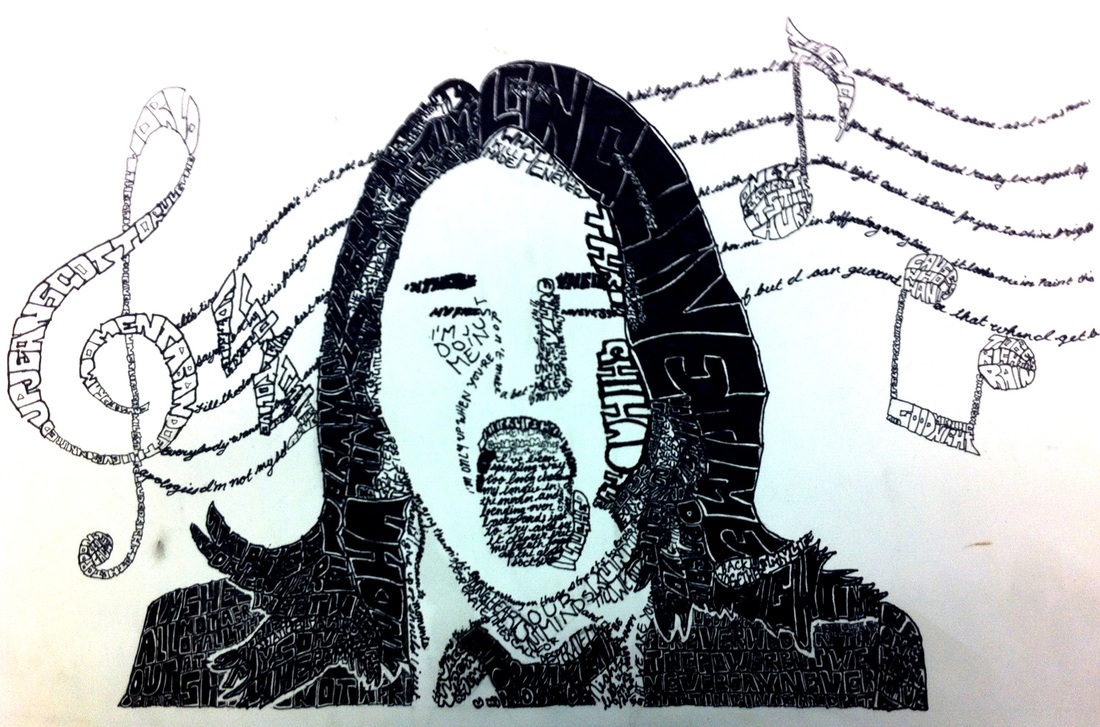
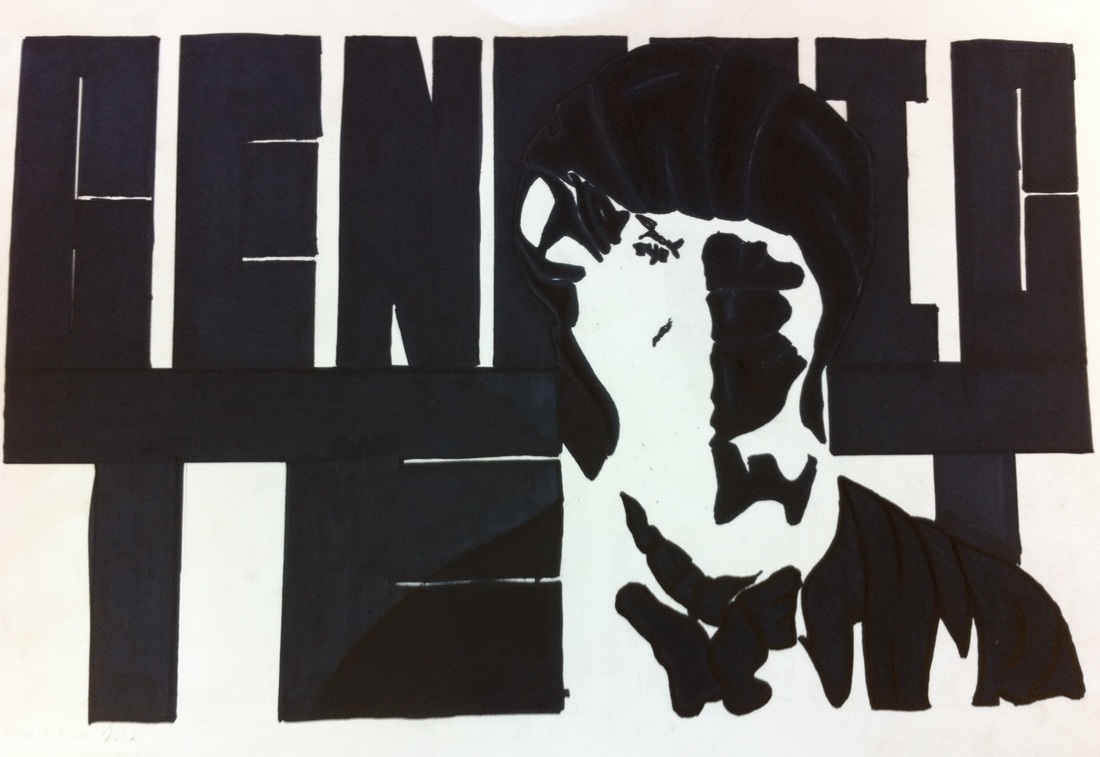
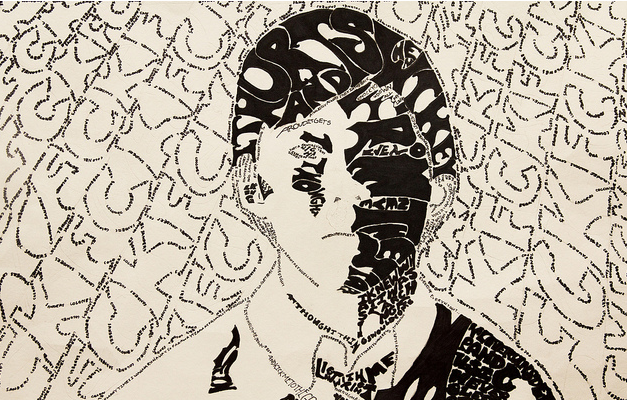
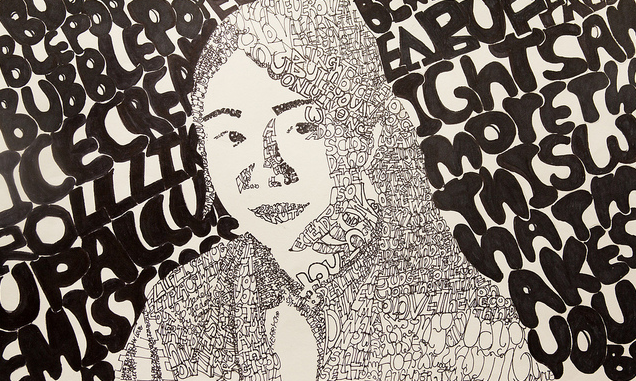
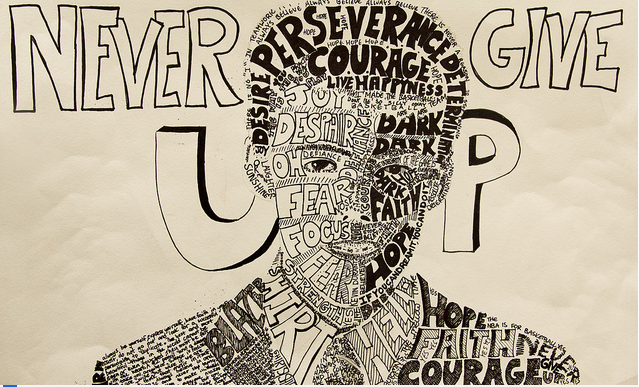
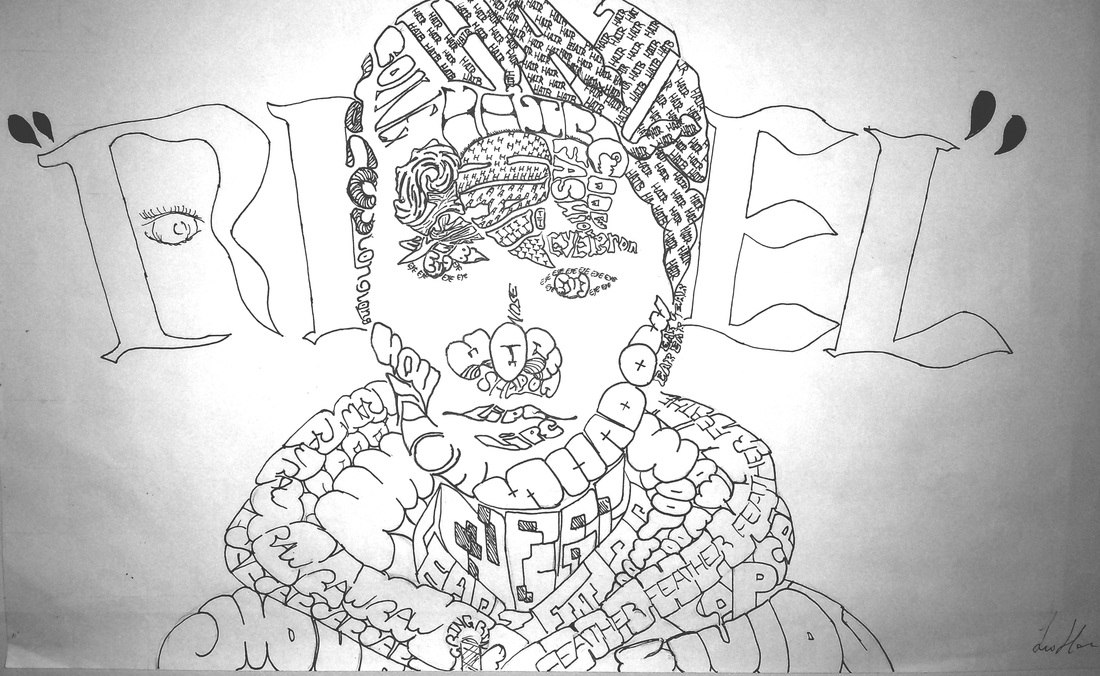
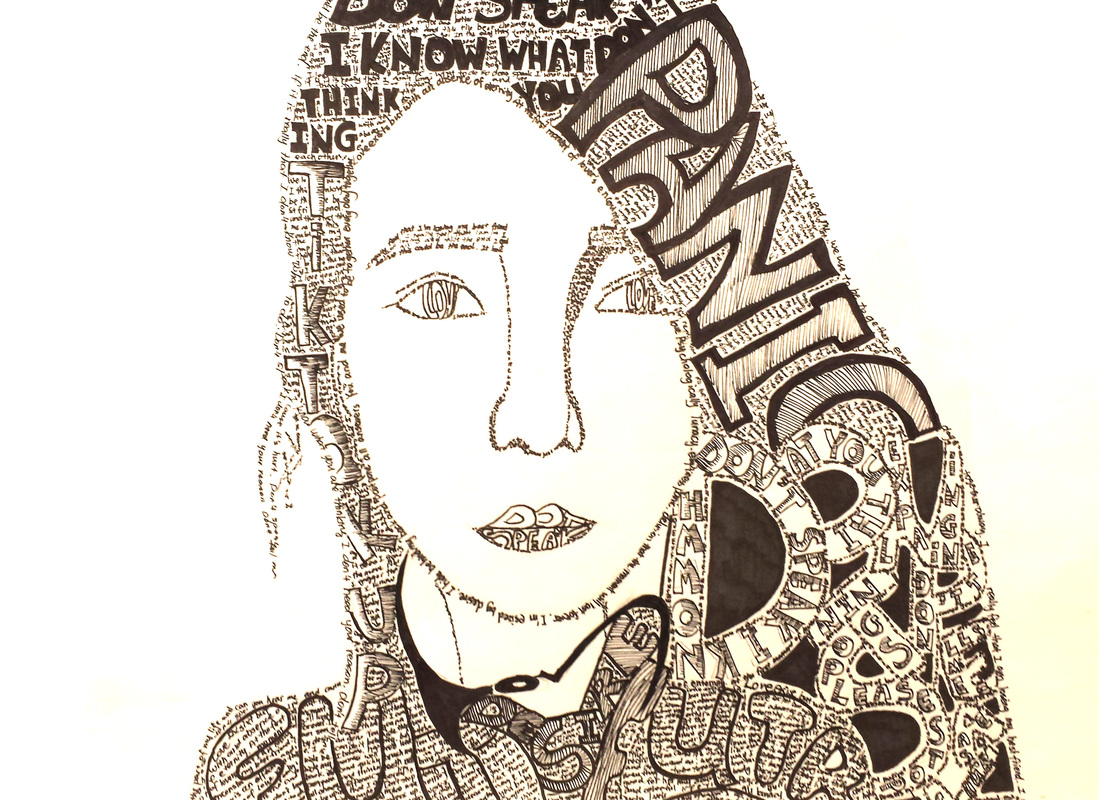
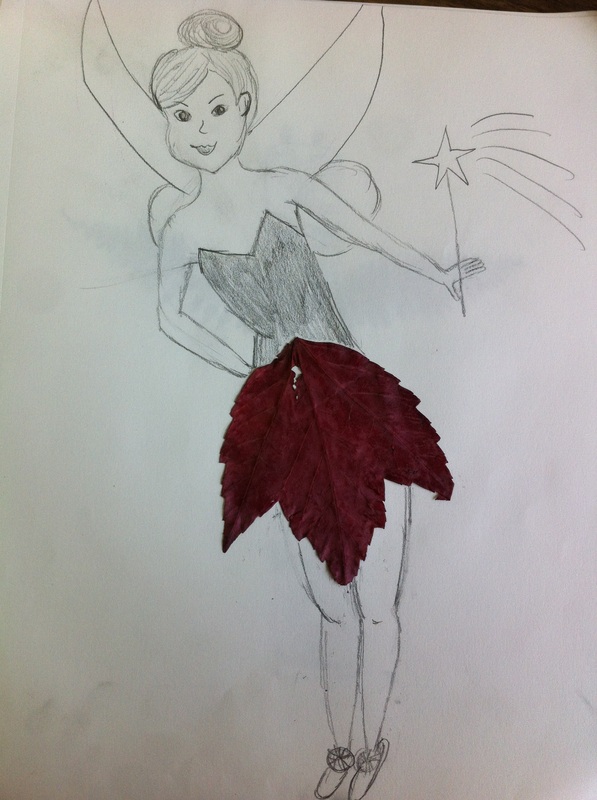
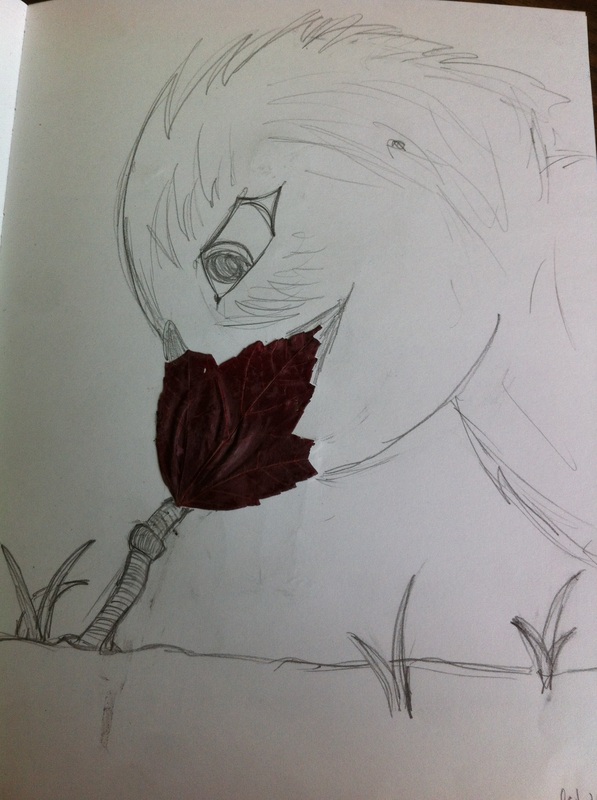
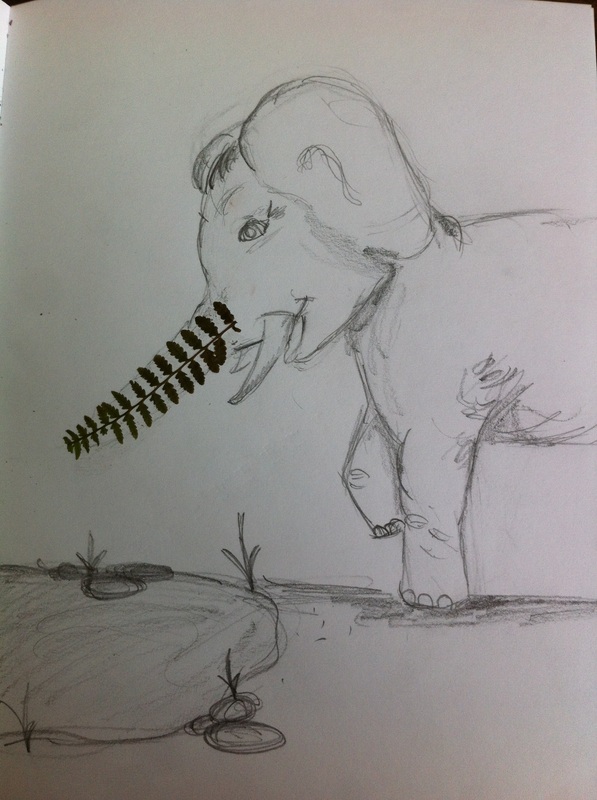
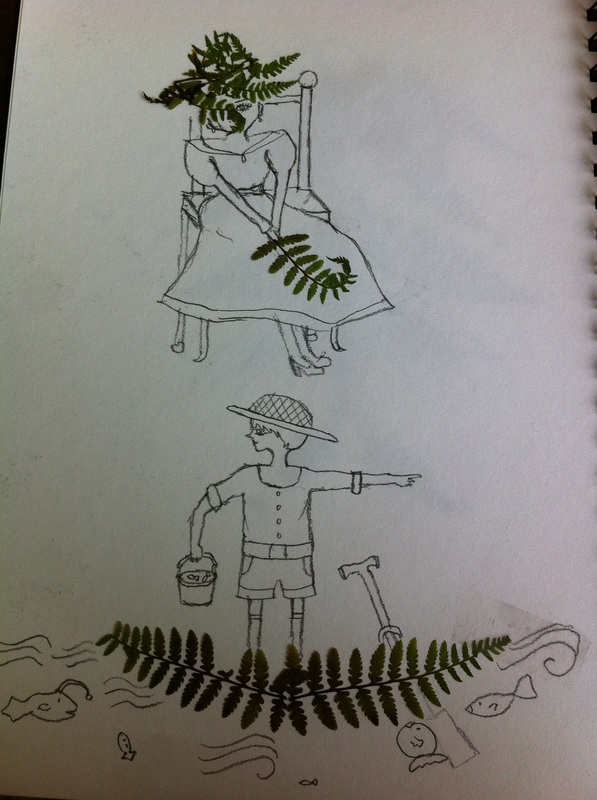
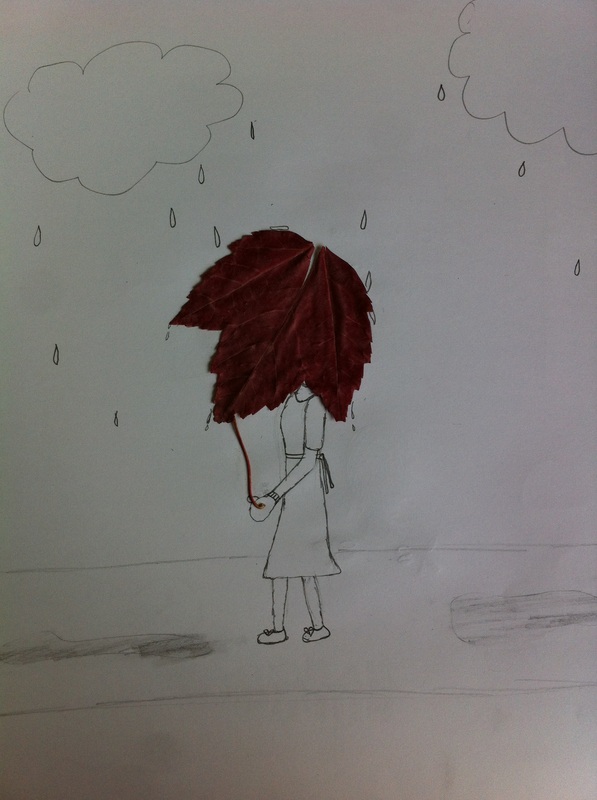
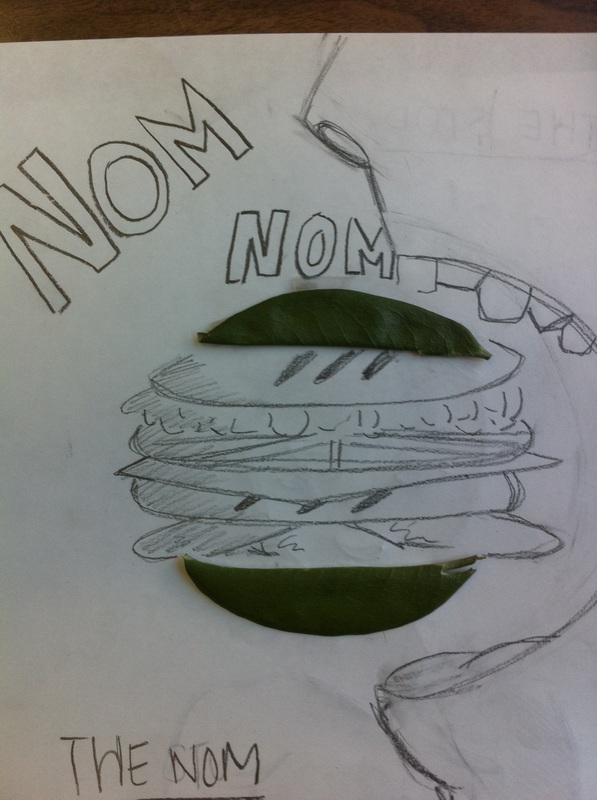
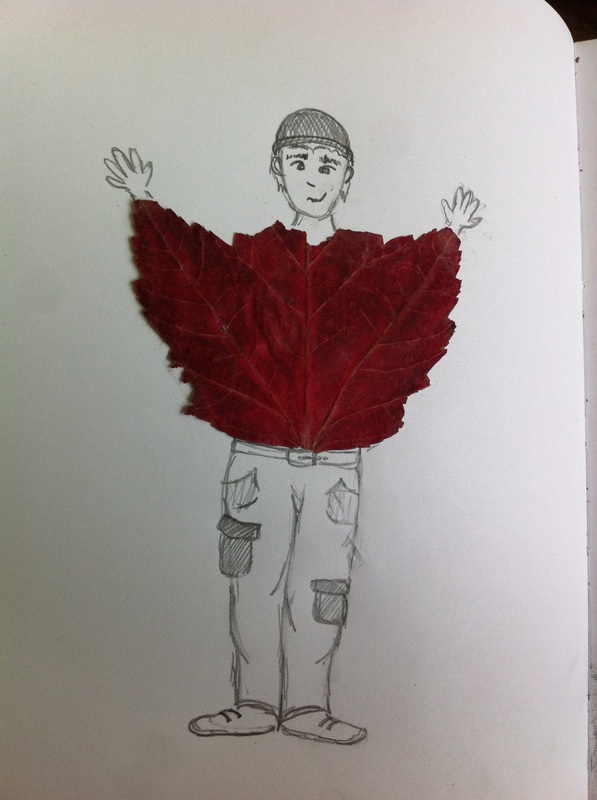
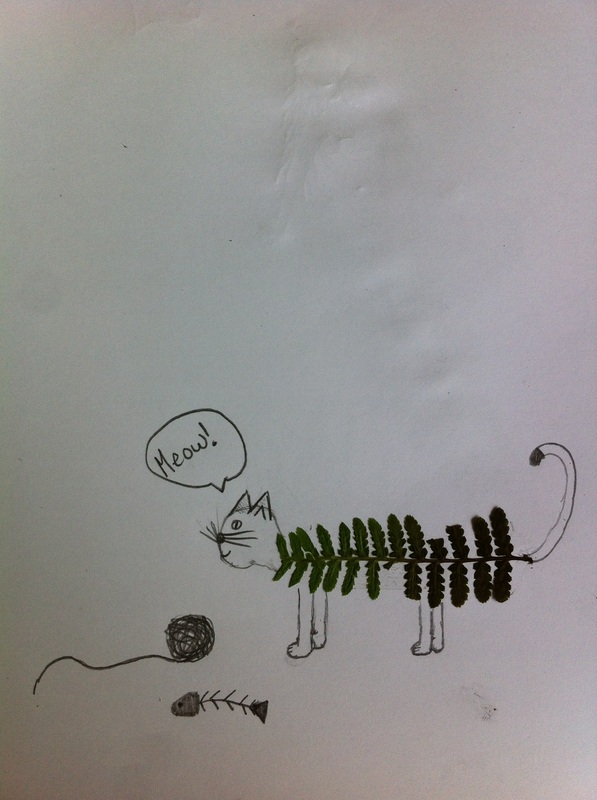
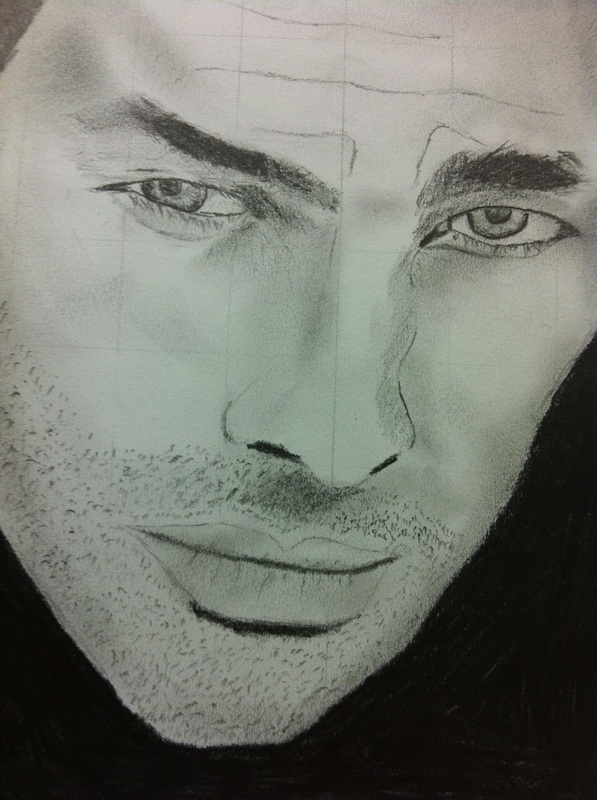
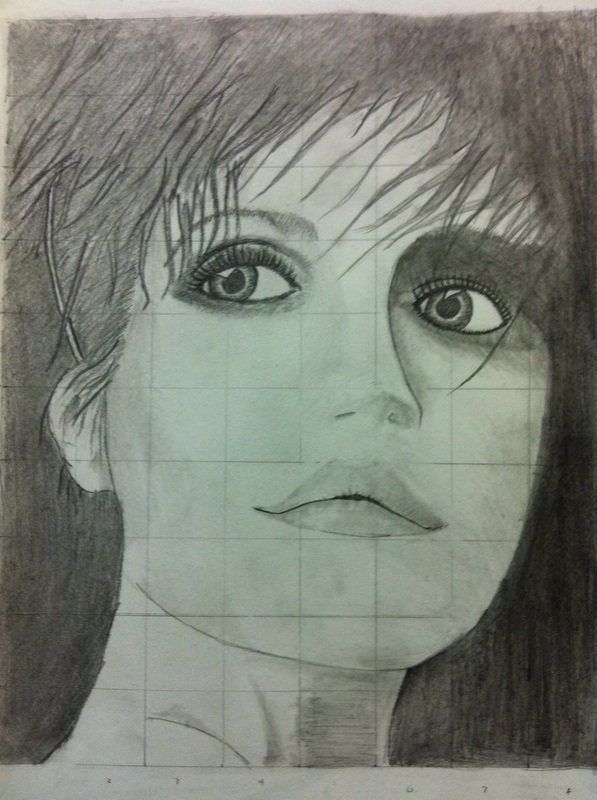
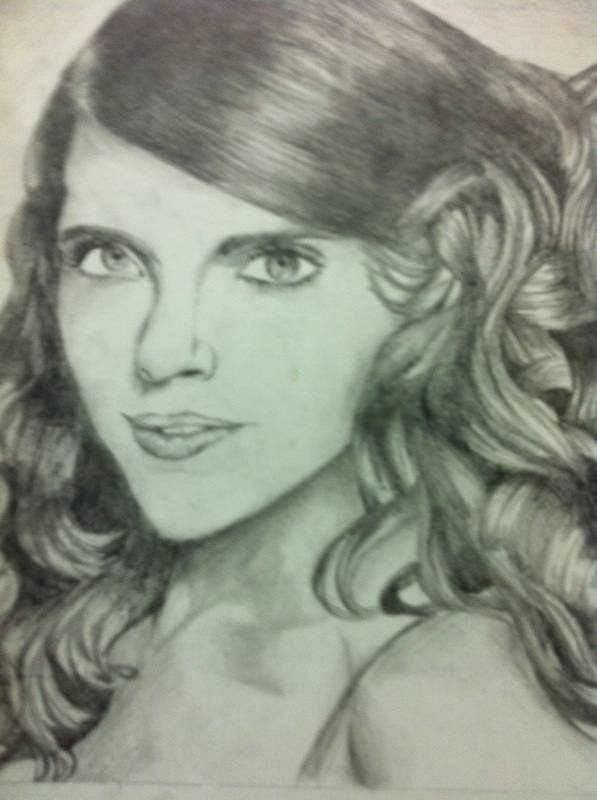
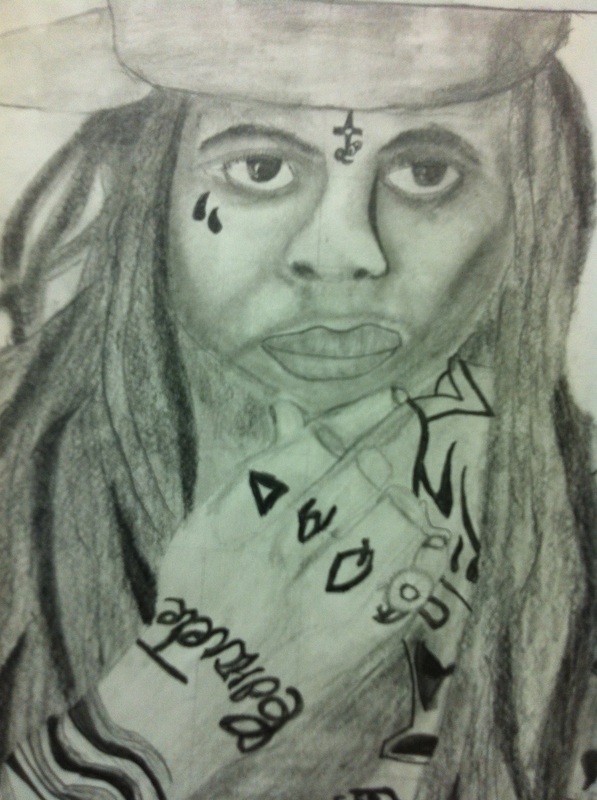
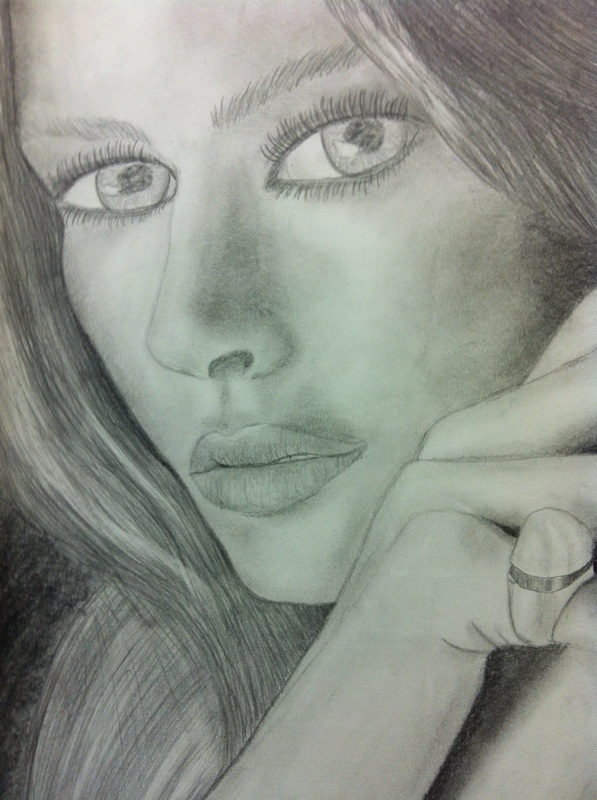
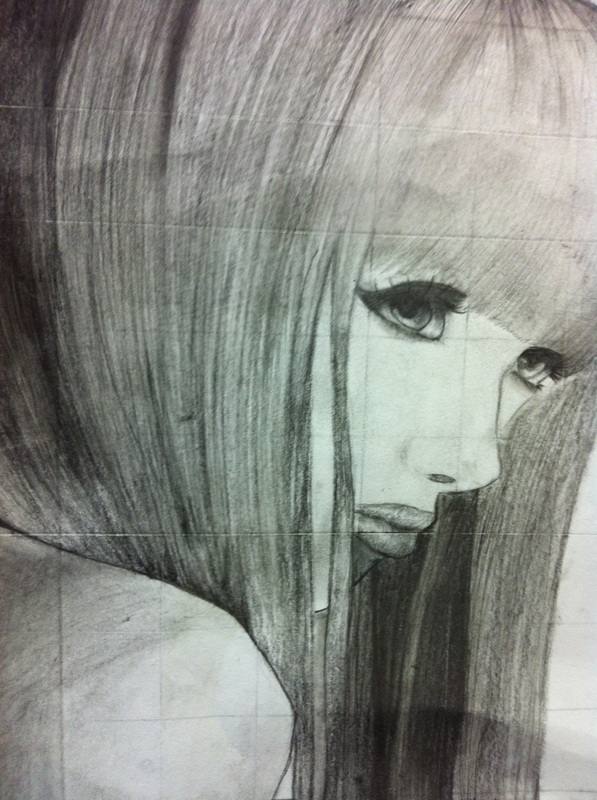
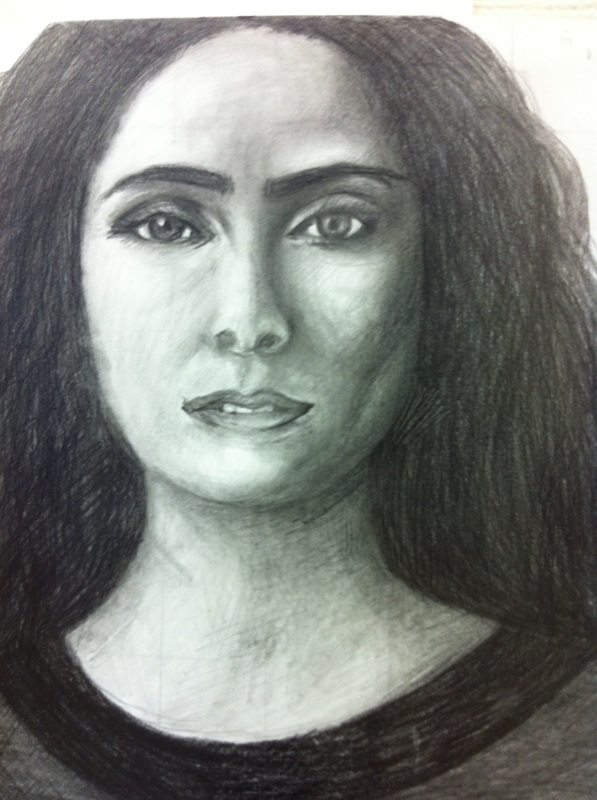
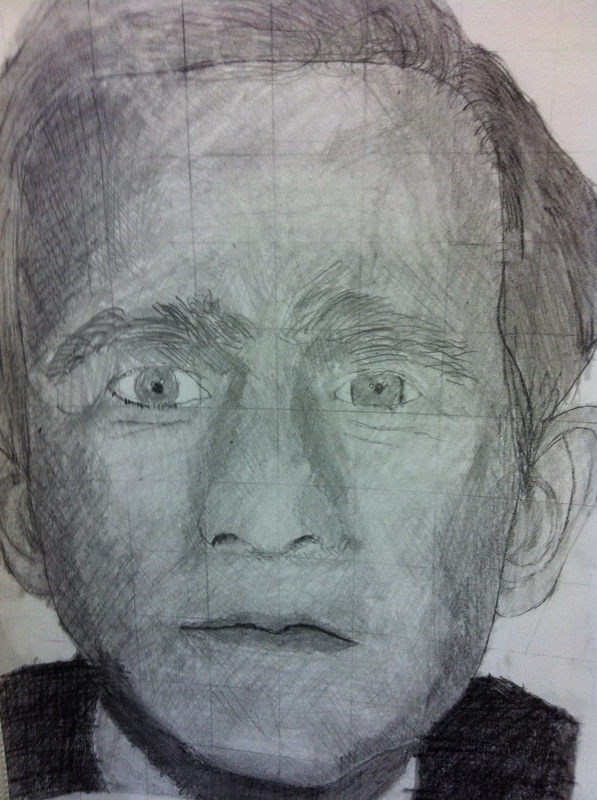
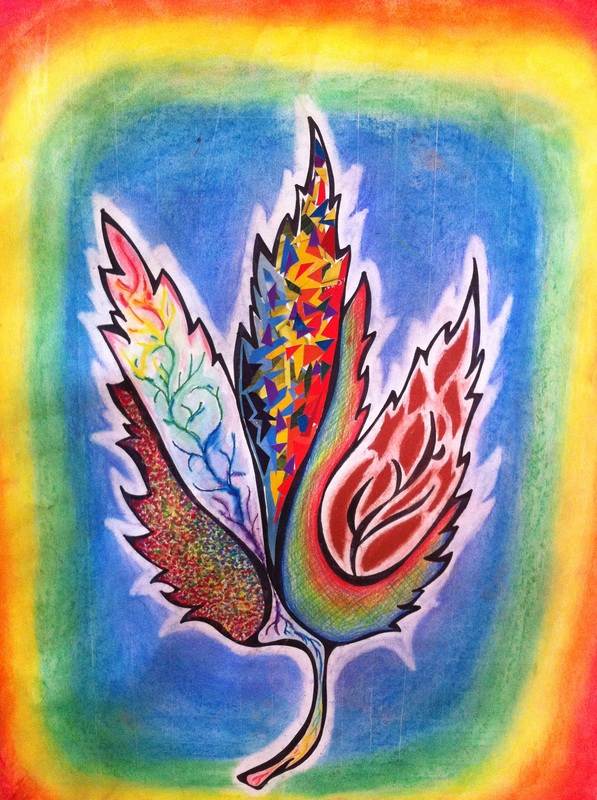
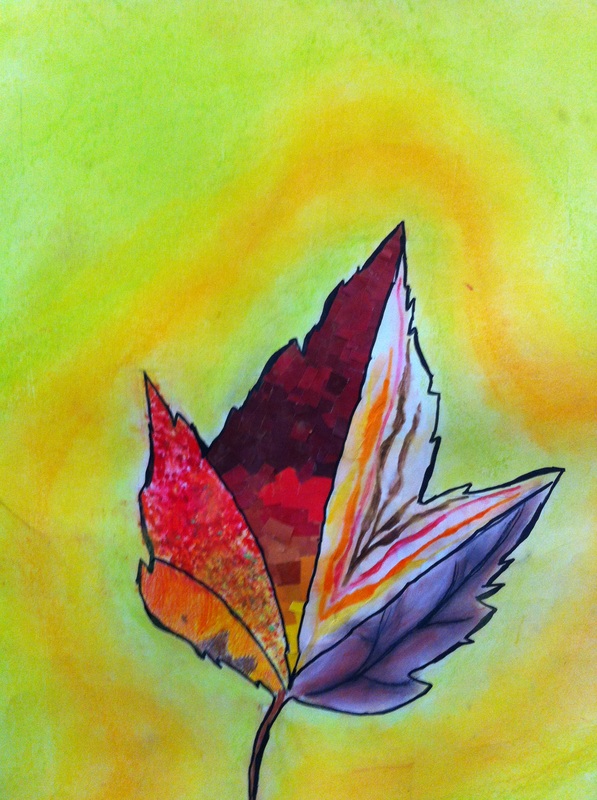
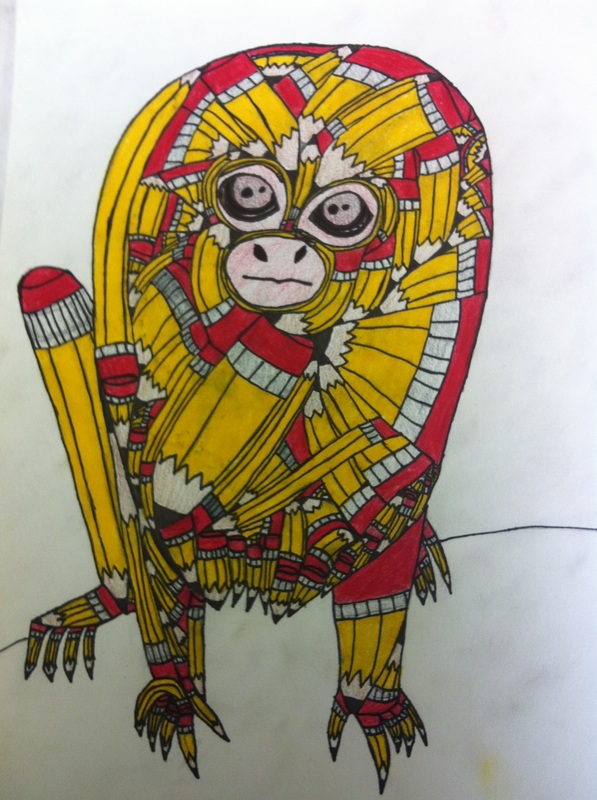
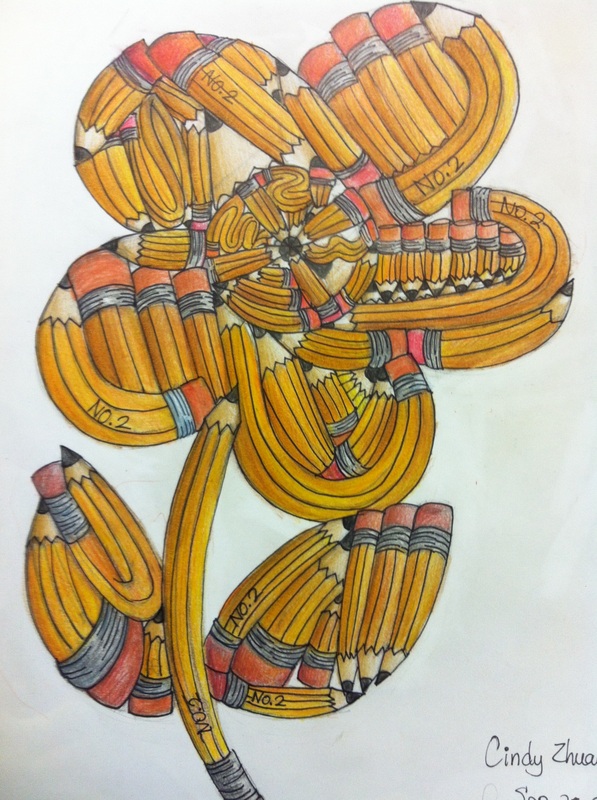
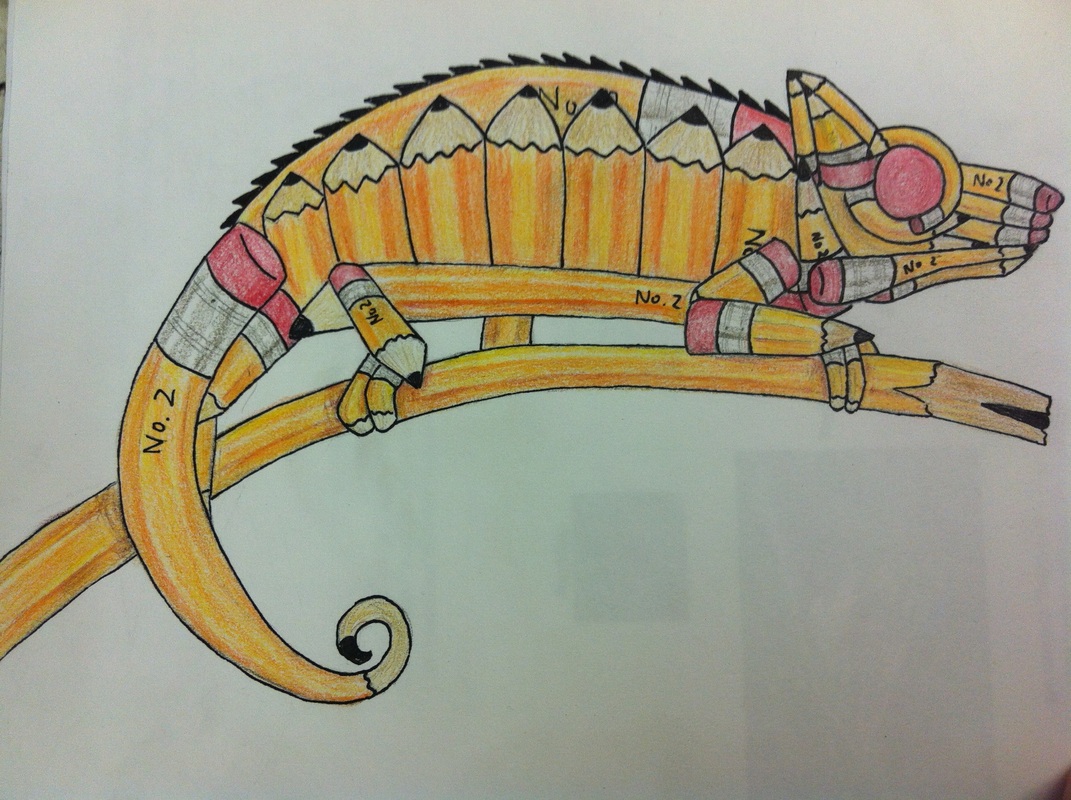
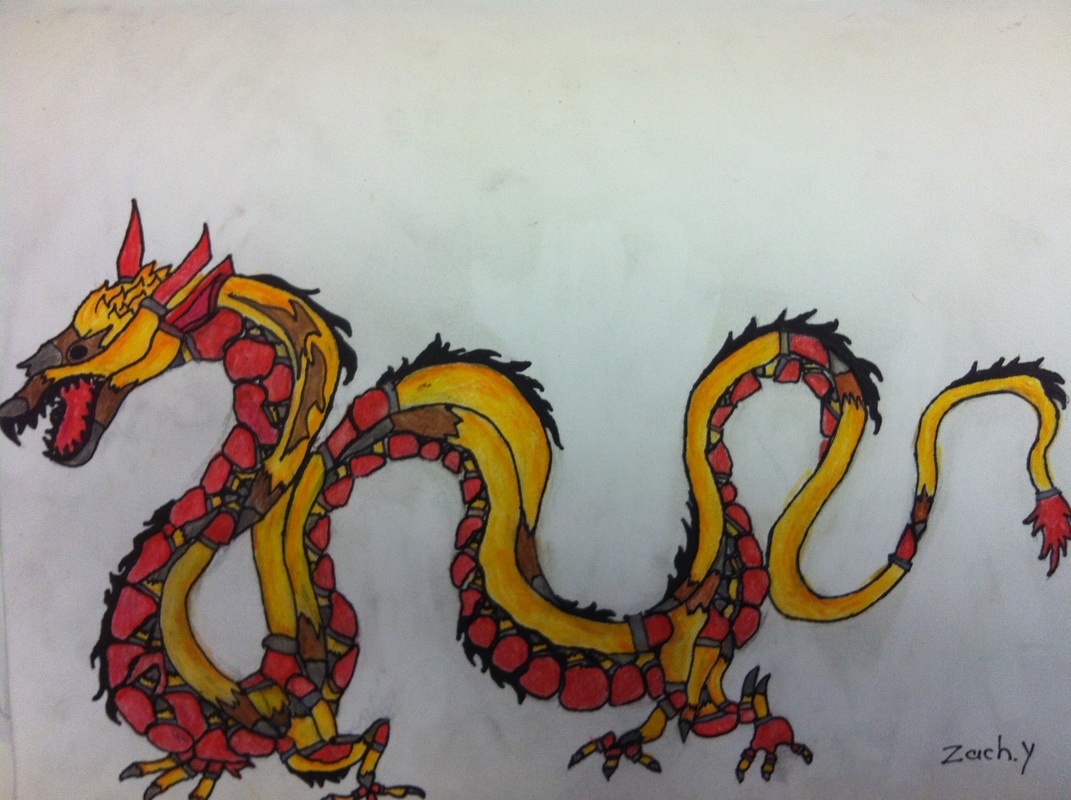
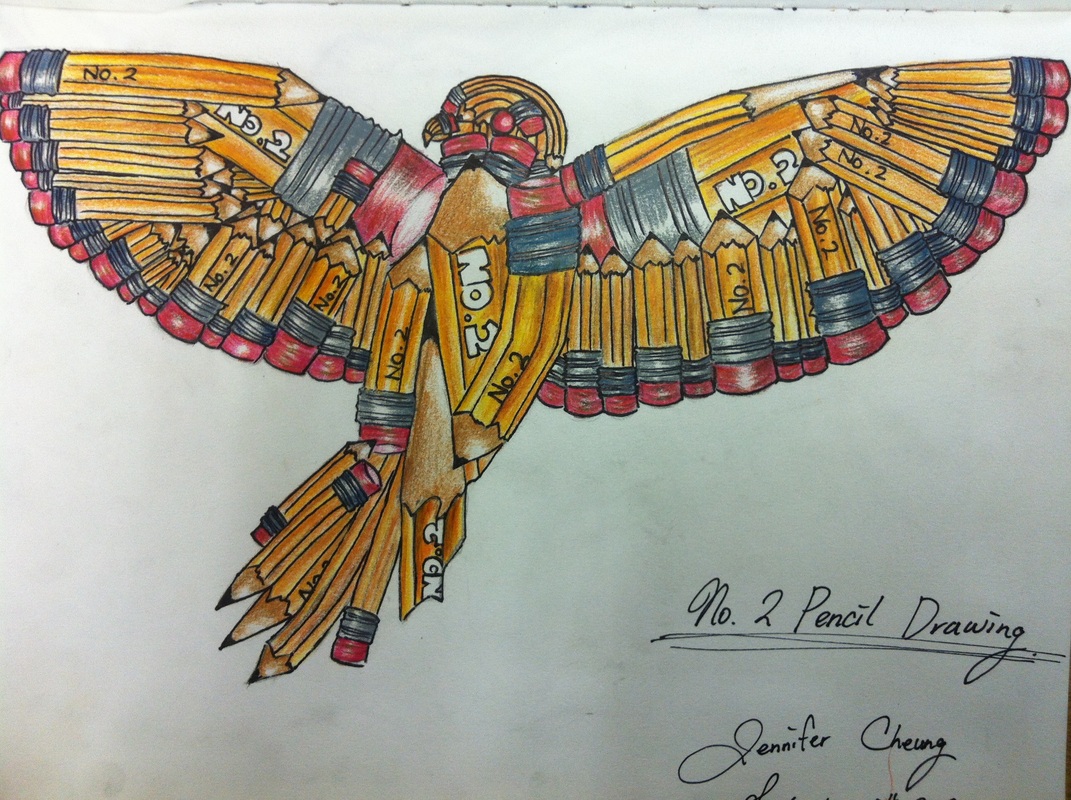
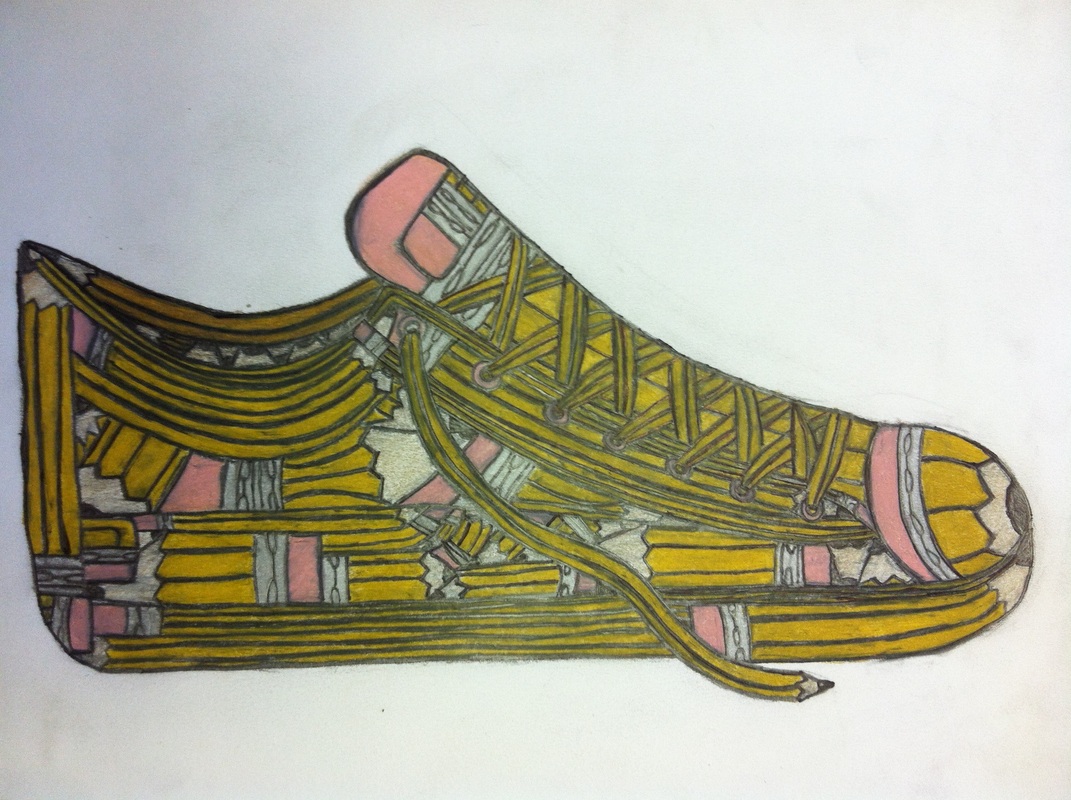
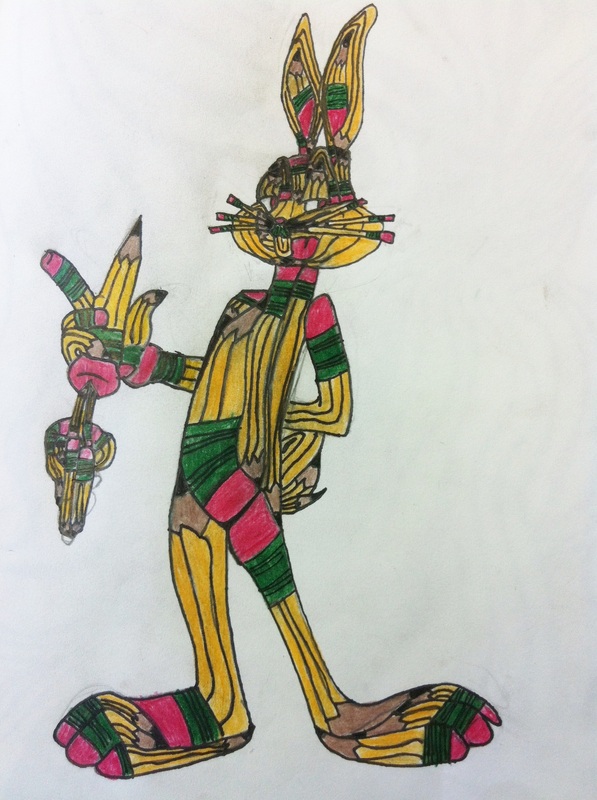
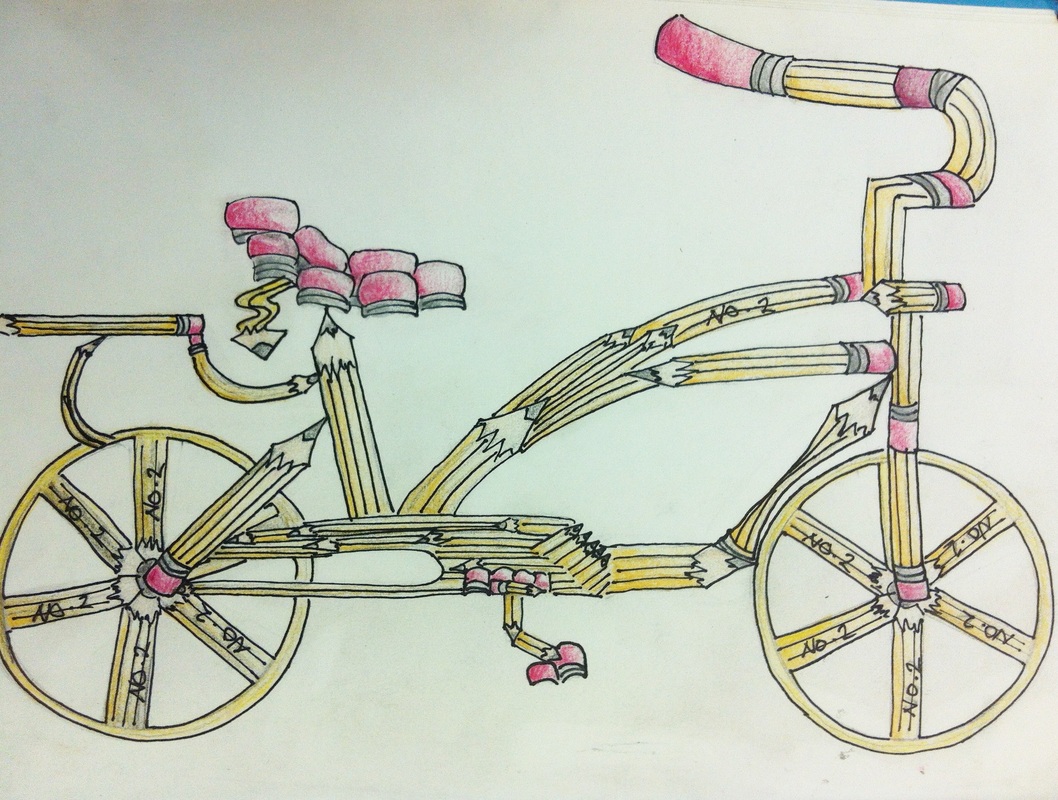
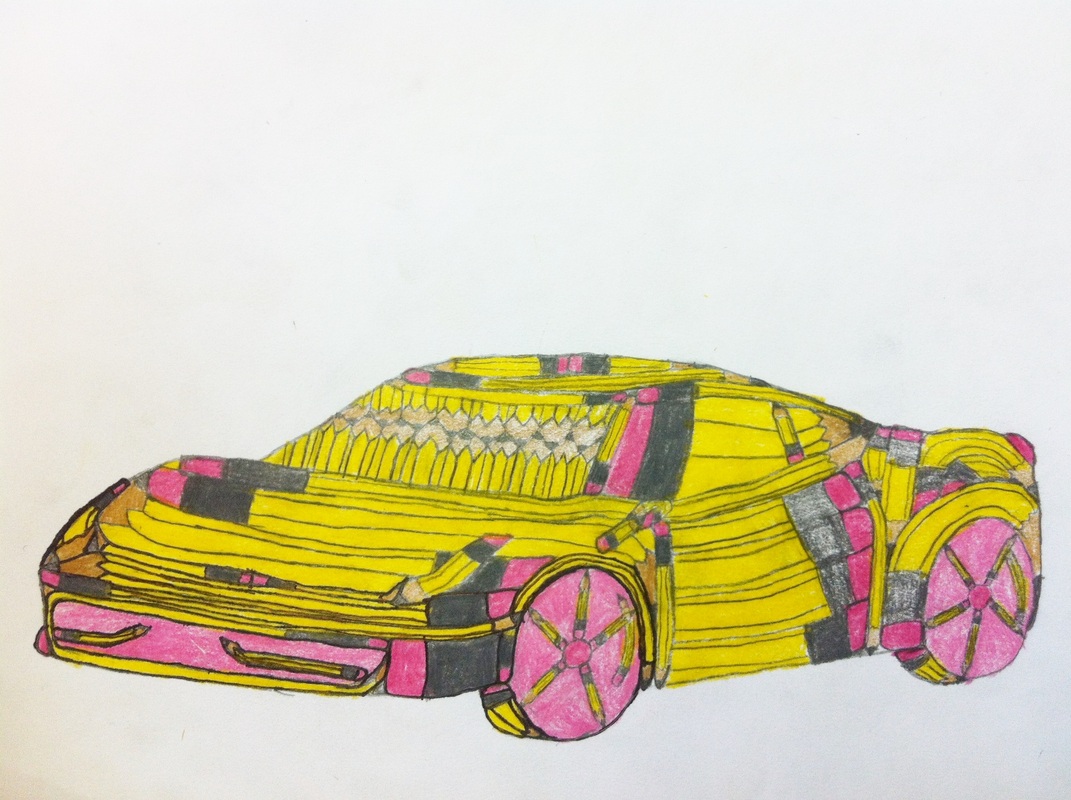
Students used Photoshop to posterize and play with the colours of their chosen images. We used the projector to project the finalized images onto the wall, and students traced the outlines of the shapes, colours and shadows. This painting is currently in progress using Tempera paints. The images below show the before and after using Photoshop (posterize, replace colour, selective colour, hue/saturation). Paintings in Process! Students chose a celebrity: actor, singer, musician, poet, writer, athlete, politician, etc. and found 2, 4 or 6 different photographs of them. Each photograph should show the person in a different role/setting/lighting/facial expression. Students divided their drawing paper (18x24) into 2, 4 or 6 equal parts and drew the parts of the face from the different photographs, carefully lining up sections to match and create one overall face. This was a challenging project but the results were fantastic and original! Art Foundations 11/12 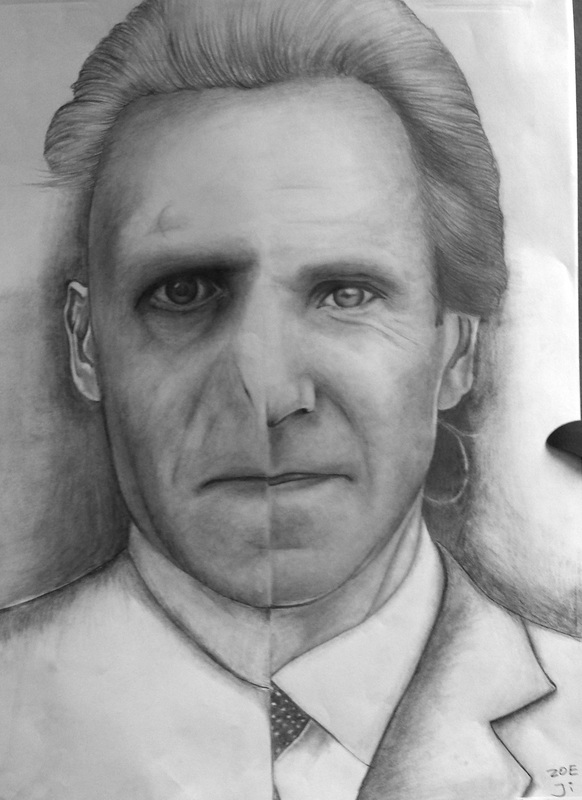  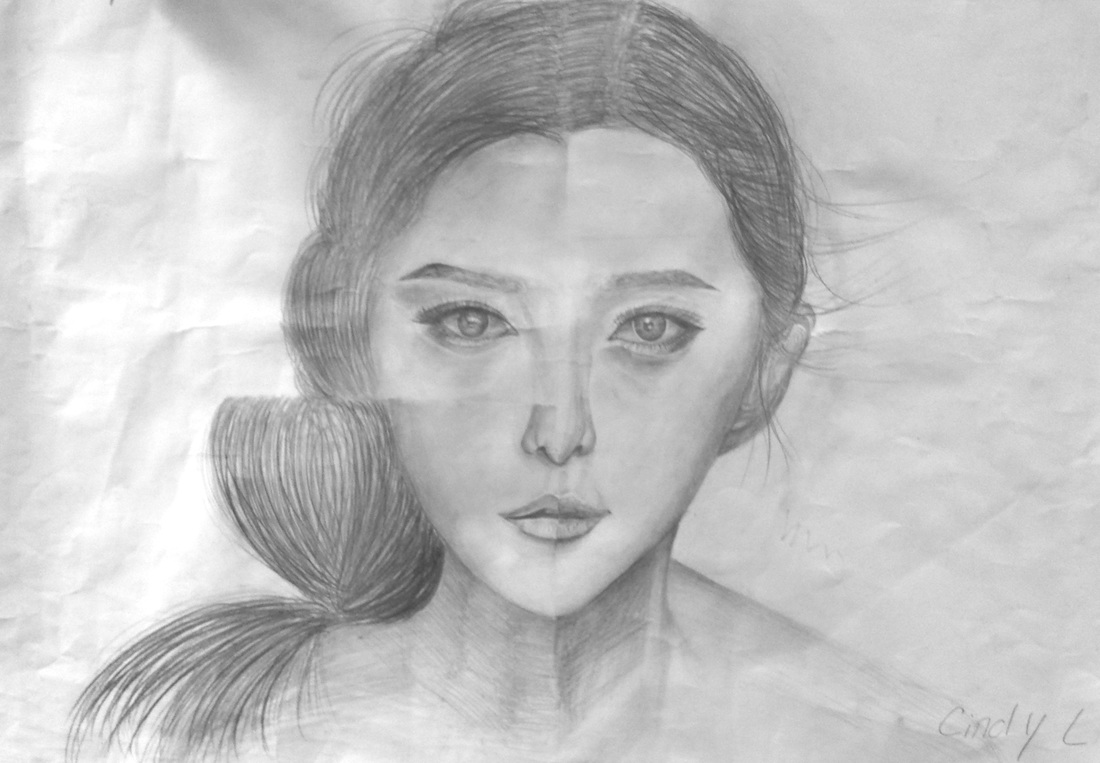 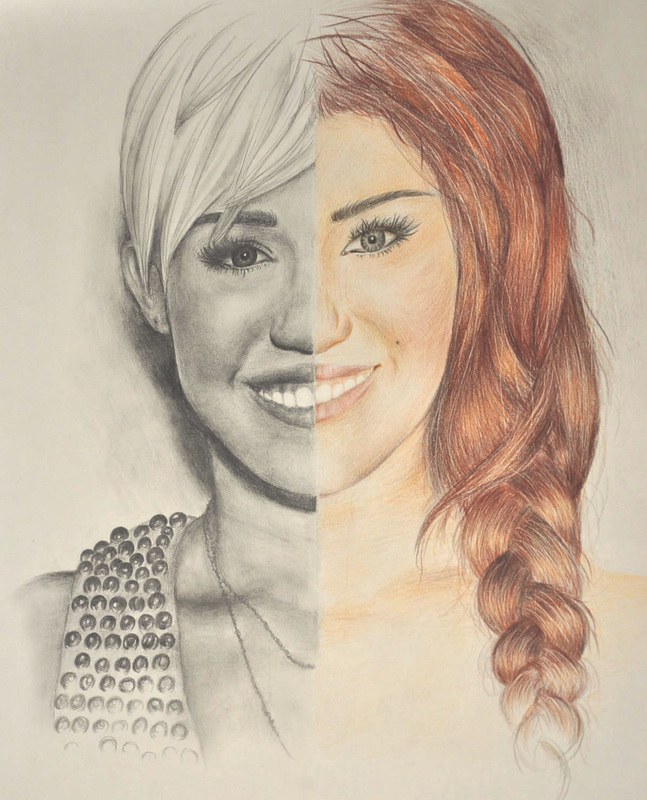 Students had a lot of fun with this project! 1. Set up a still-life with objects of various shapes, sizes and textures. 2. Using Sharpie on acetate, have students draw the contour lines of the objects and be sure that lines overlap one another. 3. Students will slightly change positions and on a second piece of acetate, draw the objects in a new angle. 4. Using carbon transfer paper, transfer some lines from both images onto a piece of paper. 5. Colour in each shape with tempera paint. 6. Outline everything with black India ink. This idea came from the book: LINE Creative Painting Series by Barron's. 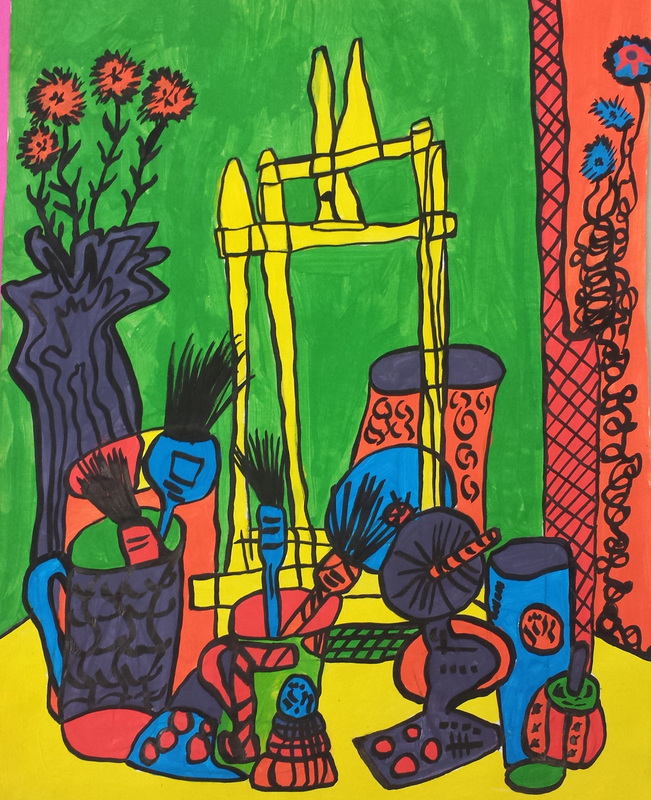 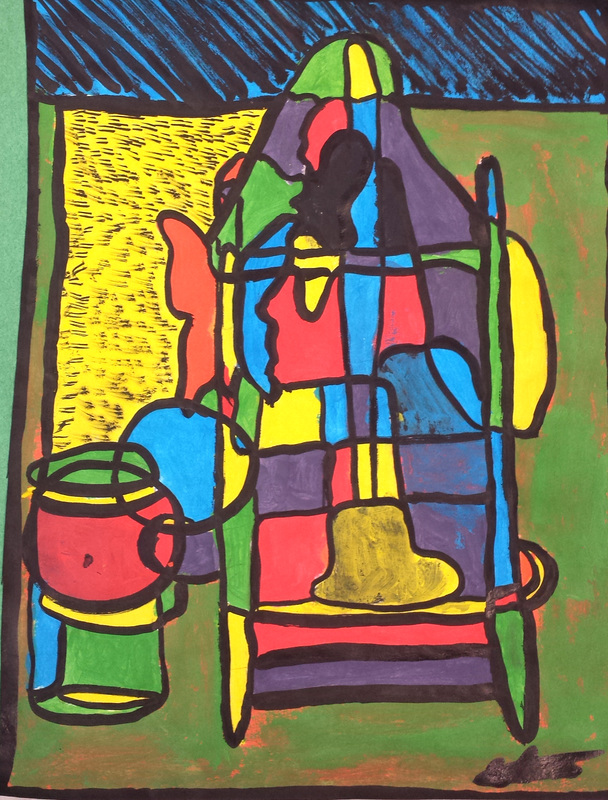  1-Point Perspective Paintings of Interiors Art Foundations 11/12 -Students first learned about 1-Point Perspective and then created drawings of an interior space. Using watercolours, they painted the space, giving it great depth. This works well as an entry level project for perspective. 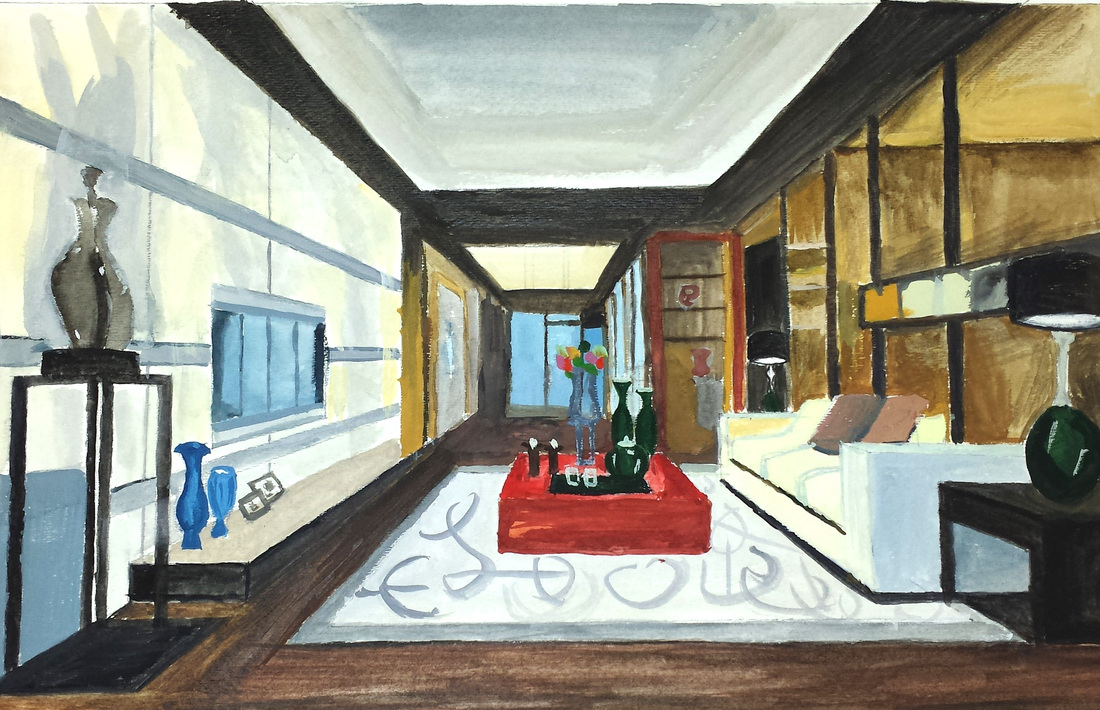 Students researched a world issue that was important to them. They took notes and created a hand drawn poster on paper to hash out the concept. Photoshop was used to create the posters. Contrast, font style and size, minimal imagery, and colour schemes were part of the criteria. Naldz Graphics has 200 free paper texture backgrounds that the students chose from. Students used Photoshop to create food images using text only. The words that make up the image had to be the same words that make up the food. Colours, shape, size, font had to be taken into consideration as well. This is a fun, short project, especially if you have students who finish early on other projects. Tagxedo is an awesome free word cloud generator. Students made a list of 10 words that describe them and entered them into Tagxedo. Once the cloud was generated, students played around with lighting effects and blur effects in Photoshop to create unique clouds. This is a quick and easy project to do at the beginning of a Typography unit and an intro to Photoshop filters. A link to Other Cloud Generators Students drew enlarged key sets, keeping as much detail as possible in the contour lines. They then divided the picture plane into geometric shapes using rulers. Students had the choice to do organic shapes as well. The challenge was to fill each shape within the keys and the background with a different colour. Students also chose to keep the keys the same colour and just alternate the background. Materials: pencil crayons, watercolours Adapted from Ken Vieth's project. 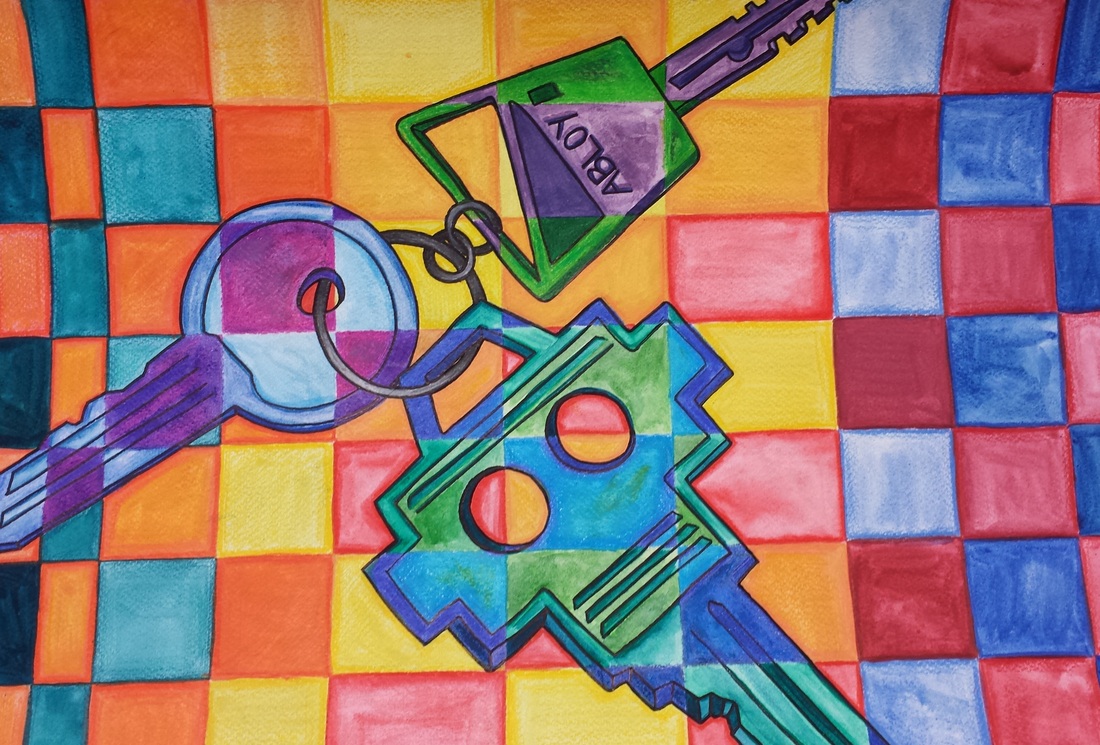 Students chose an image of a person that has been a role model in their lives. They did research on their role model's life and accomplishments. We used the opaque projector to project an enlarged version of a printed image of their role model on the wall. Students traced the projection, focusing on the shapes that are created by highlights and shadows. The highlights and shadows were then number in a range from 1-5, with 5 being the darkest shade. They created a value scale of one colour with 5 values and proceeded to paint their image according to the numbered scale. The project below was completed with Grade 8 students. Materials: opaque projector, 18x24 paper, pencils, tempera paint 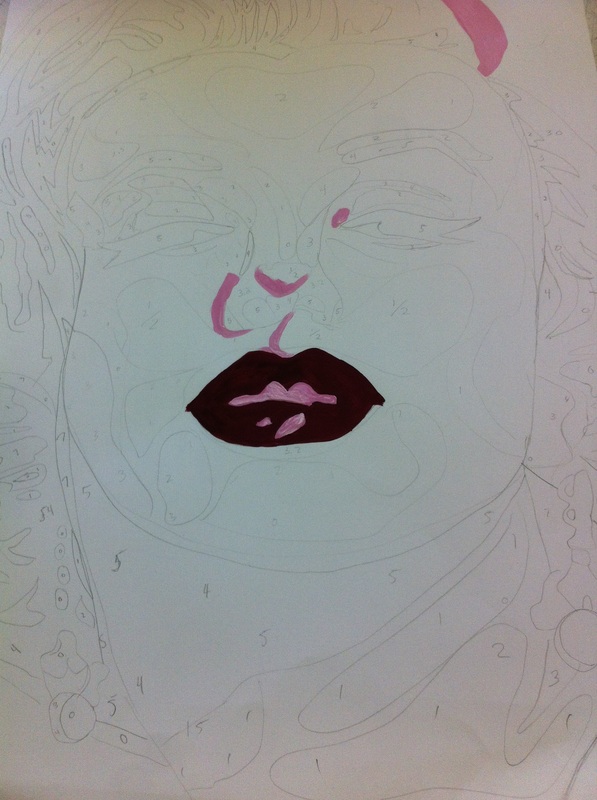 Process Work Students chose a famous painting that they wanted to work with. They did a sketchbook drawing of the painting and then decided what 'modern twist' they were going to give it. Next, they drew the image onto a piece of gessoed Stonehenge and then painted the image with acrylic paints. We first covered a series of Acrylic Paint Techniques as well as experimental paintings in the style of their chosen artist in preparation for their final paintings. Students also completed an Art History Page after researching their artist and style. You can tell by the paintings below how much they were into this project! 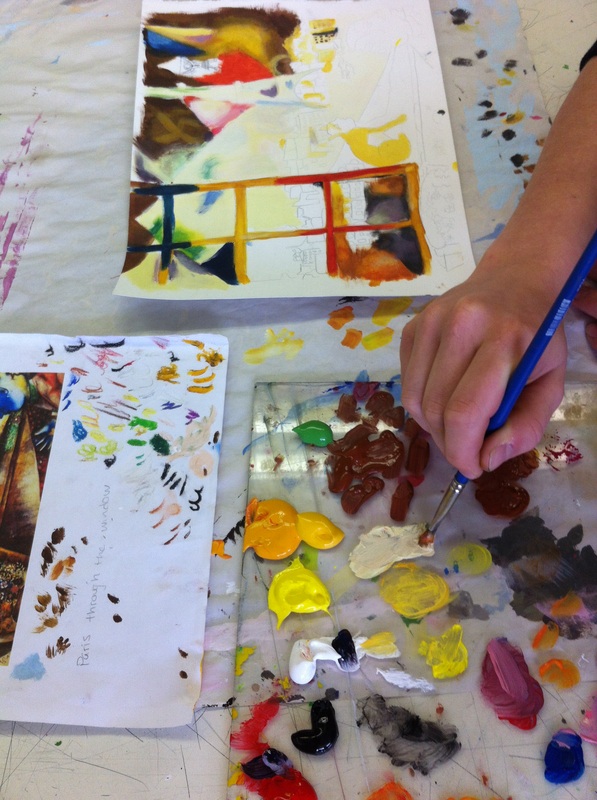 Final Paintings Materials: gesso, Stonehenge paper, acrylic paint After studying Salvador Dali's famous painting, "The Persistence of Memory", students learned about the concept of 'parody'. With that in mind, they revisited the painting and created a comedic 'parody'. Choices were to change only the clocks (from the original painting) into new objects, change only the background and leave the clocks, or change both. The results are funny and creative! Materials: 8x11 white paper, pencil crayons Using a photograph of the back of their heads, students used scratch art tools to scratch into black scratch art paper. Having bright white areas completely scratched out and areas with fewer lines developed the highlights and shadows on the drawings. Materials: 8x10 scratch art paper, scratch art tools Students researched a famous person that has been an inspiration in their personal lives. They drew a large portrait in either tone or colour and inserted an inspirational quote onto the background of the drawing. Materials: 18x24 paper, chalk pastels, mixed materials for quotes Students used the grid technique to grid a black and white photograph of themselves. They then drew the outline of their image and filled in the space with a variety of text. Focus on light and shadows. This project also works really well in a Media Arts class. I've used it during studies on Typography. 11x 14 Mayfair, pencils, sharpies, fine liners Students used the grid technique on a black and white photograph of themselves making a silly face! They then drew the photo with a focus on tone and pencil shading. The images below are from Grade 9 students! Materials: 11x14 Mayfair, pencils, kneaded erasers, charcoal, photographs 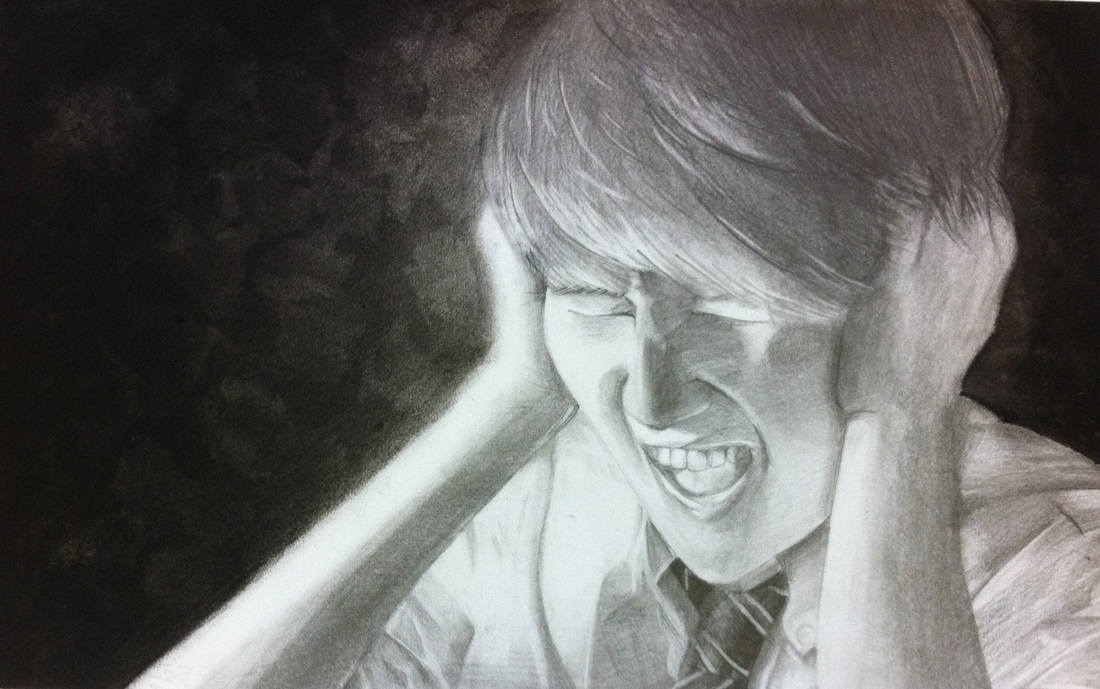 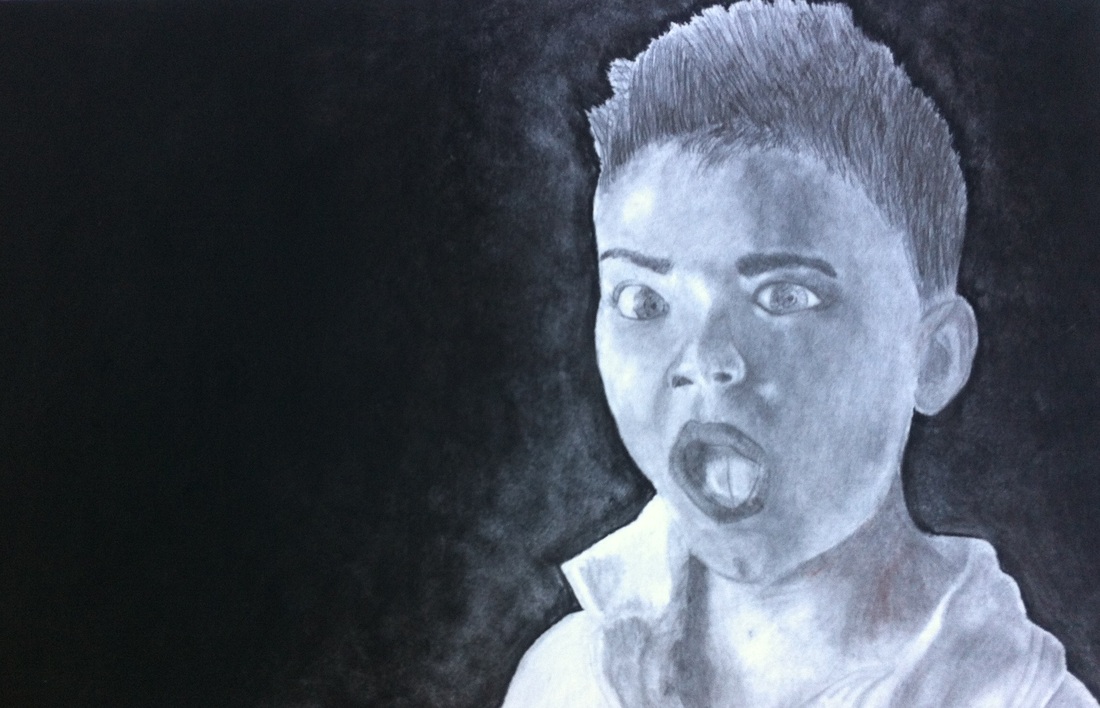 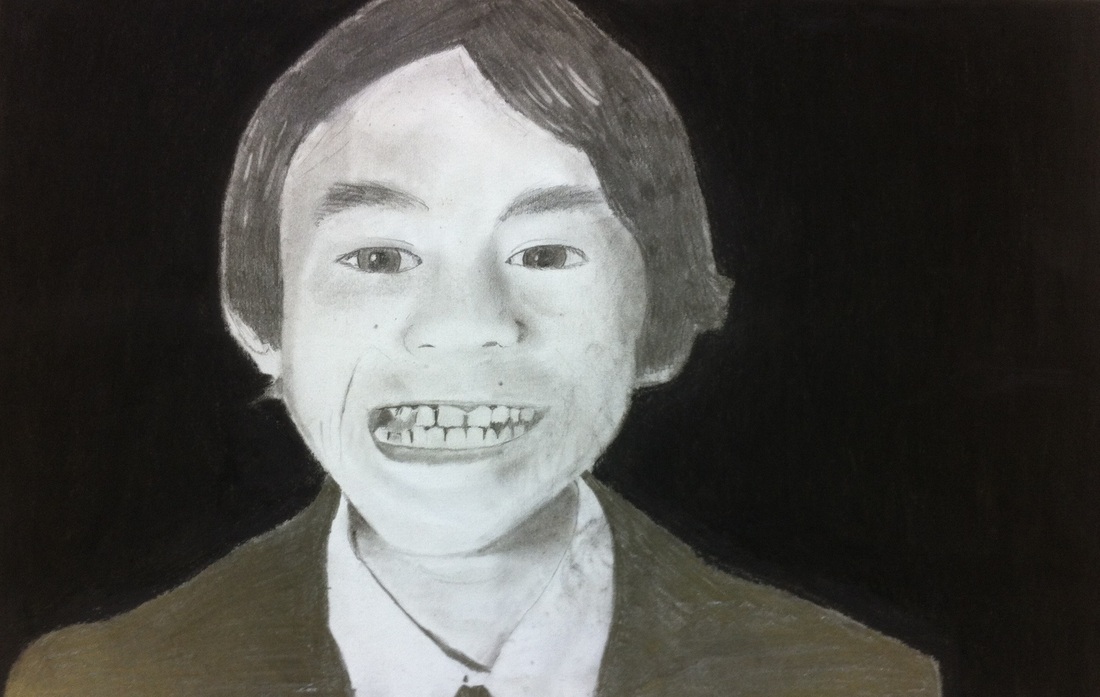 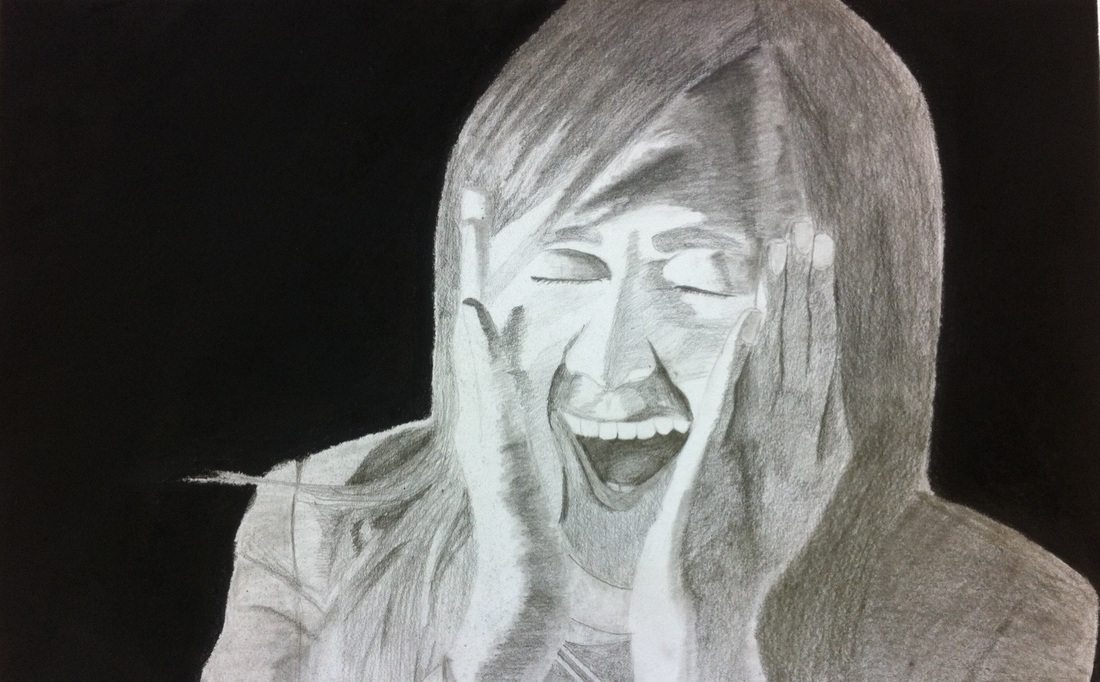 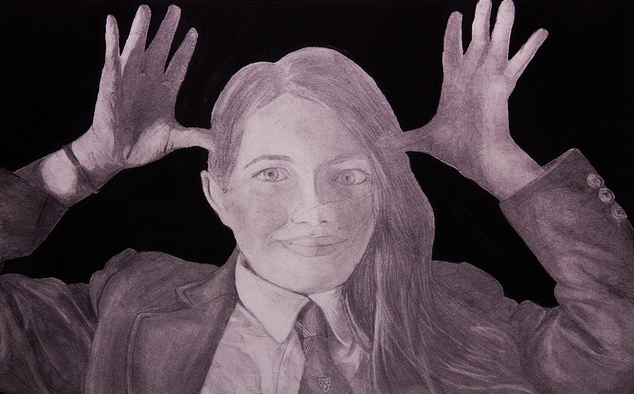  A quick sketchbook activity to help students open up creative possibilities! Materials: leaves, pencils, sketchbooks Students used a full face magazine image to work from and learned the grid technique to practice drawing realistically with a focus on the use of tone. The images below are from a Grade 9 class! Materials: pencils, kneaded erasers, sketchbooks, magazines Students collected leaves outdoors, chose 1, and grid it in their sketchbooks. They then created an enlarged version and divided it into 5 sections to focus on particular techniques - stippling with oil pastel, blending with markers, shading with conte, crosshatching with pencil crayon, and creating value with collage. Materials: 18x24 Mayfair, oil pastel, pencil crayons, magazines, conte, charcoal, markers, paint brushes 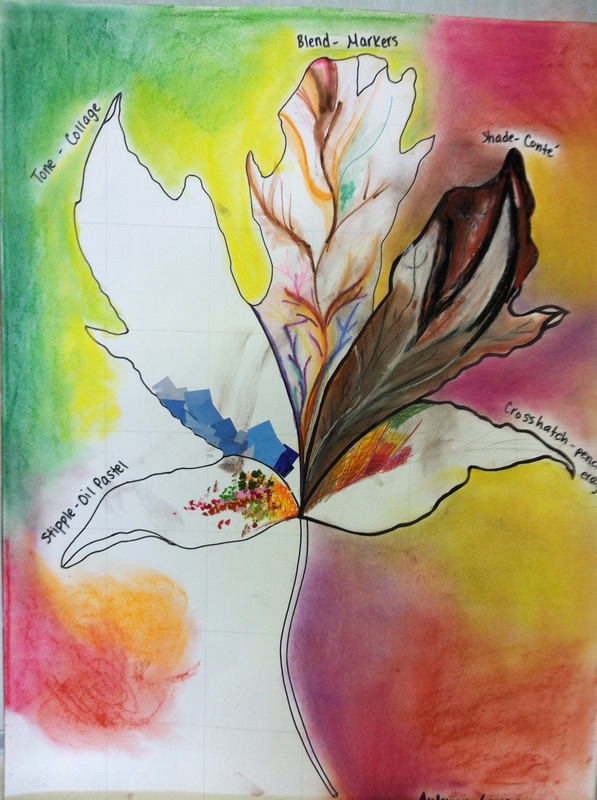 Adapted from Ken Vieth's Book 'From Ordinary to Extraordinary: Art & Design Problem Solving'. Students were each given a No. 2 Pencil to study, they created an outline of an object and creatively filled it with pencil shapes: distorting, condensing, changing the width and length. Materials: pencils, pencil crayons, sketchbooks, No. 2 Pencils |


 RSS Feed
